


Securement Silo SIGMA Guide – Once Human
OVERVIEW
Once Human has entered its 3rd CBT (Closed Beta Access) with over 150,000 people participating in it. With the previous CBT ending roughly 3 months ago, the devs have made quite a few changes throughout the game, including lootable chests, redesigning some areas and Elite mob locations.
One of the activities as a player needs to do in order to unlock Cradle slots are the Securement Silos. Securement Silo SIGMA is the first Silo you can do requiring a minimum level of 15. These Silos are completely soloable but are obviously faster if you do them in a group. Experience and loot does not differ if you do it solo or in a group.
I chose to do this Silo as a solo player. I like challenging myself when I try out new content and this was a nice way to test it out. When I was doing this silo I found that using a revolver to be great as it has a high amount of weakspot damage, meaning that headshots do a massive amount of damage and in most cases can one-shot any mob.
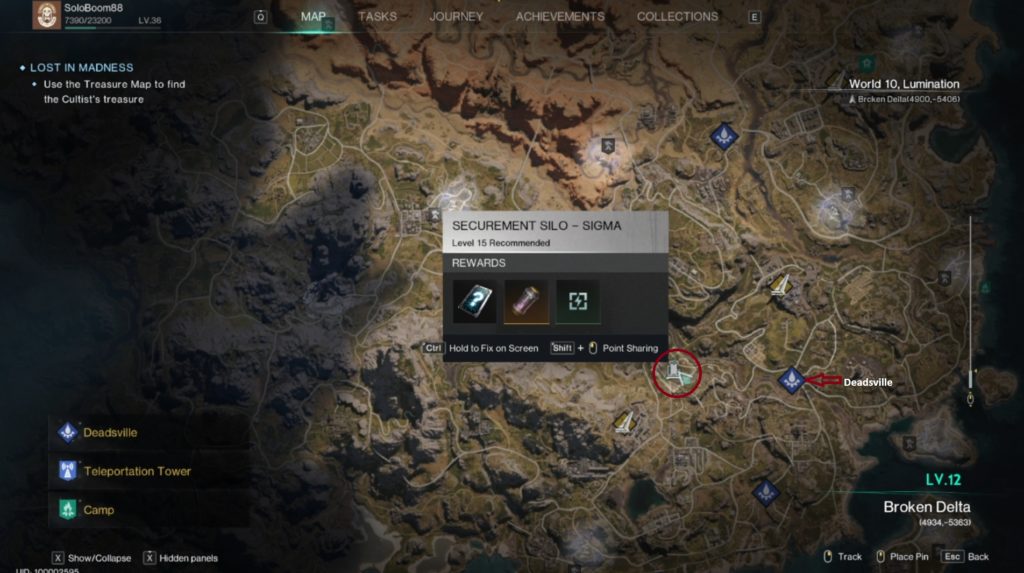
Securement Silo SIGMA can be found in the Broken Delta zone to the left of Deadsville.
Normal Difficulty
First & Second Rooms
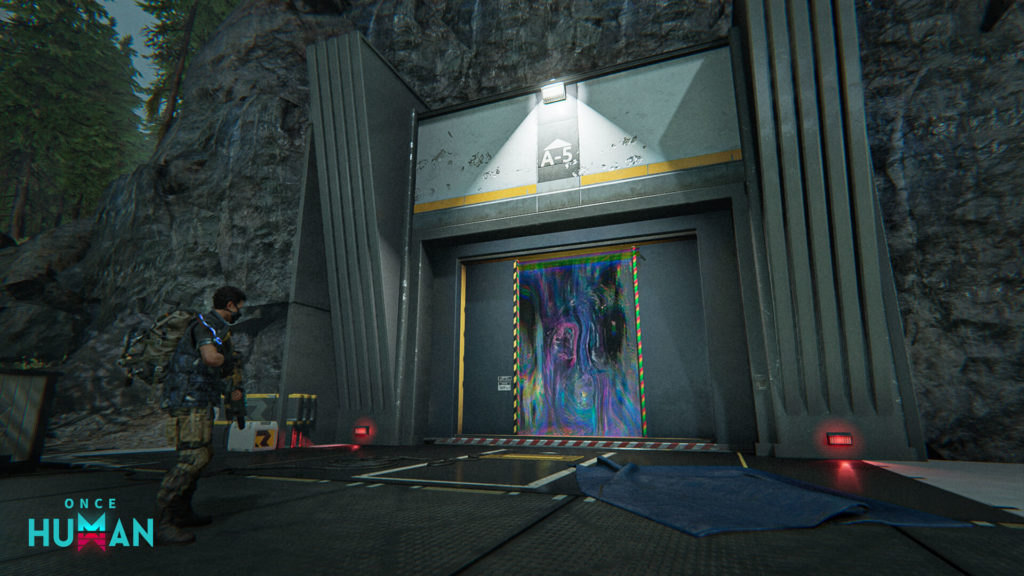
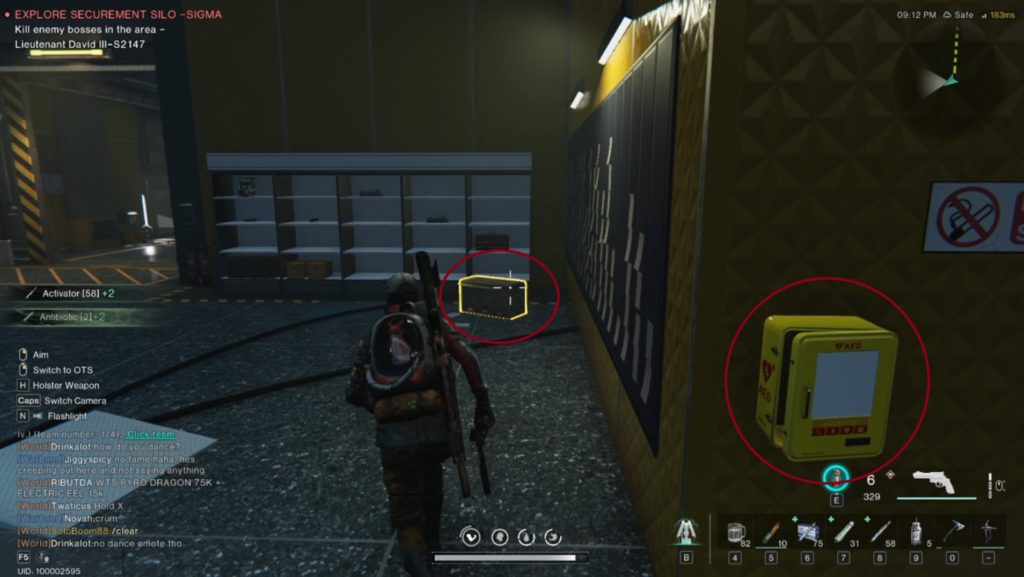
As you enter Securement Silo SIGMA you will be greeted with a corridor. Follow the zigzag corridor to the first room. This room has 2 soldiers, a medic, and a sniper initially. After taking them out move down the stairs and loot the first part of the room. As you move through the first opening more enemies will spawn. After taking them out enemies will spawn in the following room as you get closer to the opening leading into it. Take these enemies out and loot both the first and second rooms.
The second room contains a medical chest against the wall as well as a storage chest among other mats that you can disassemble.
Side Rooms
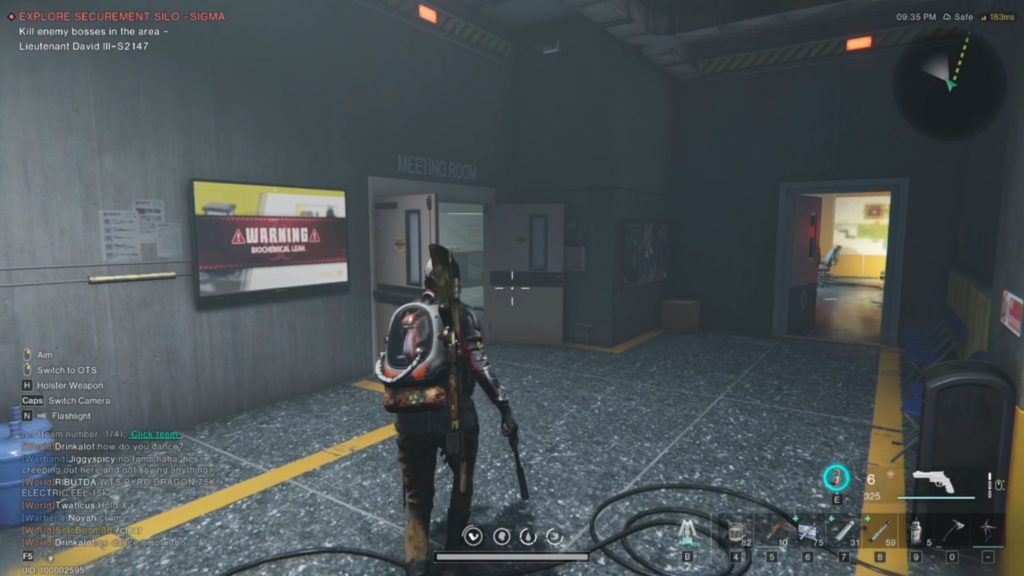
After looting the second room proceed through the doors and down the corridor. Loot the medical bag straight ahead and turn right. Here you will find 2 rooms. The room on the left has 2 soldier mobs inside. The room in front of you contains a weapons crate that you can loot. Take out the enemies and loot all you can. Go back the way you came and head into the ventilation system.
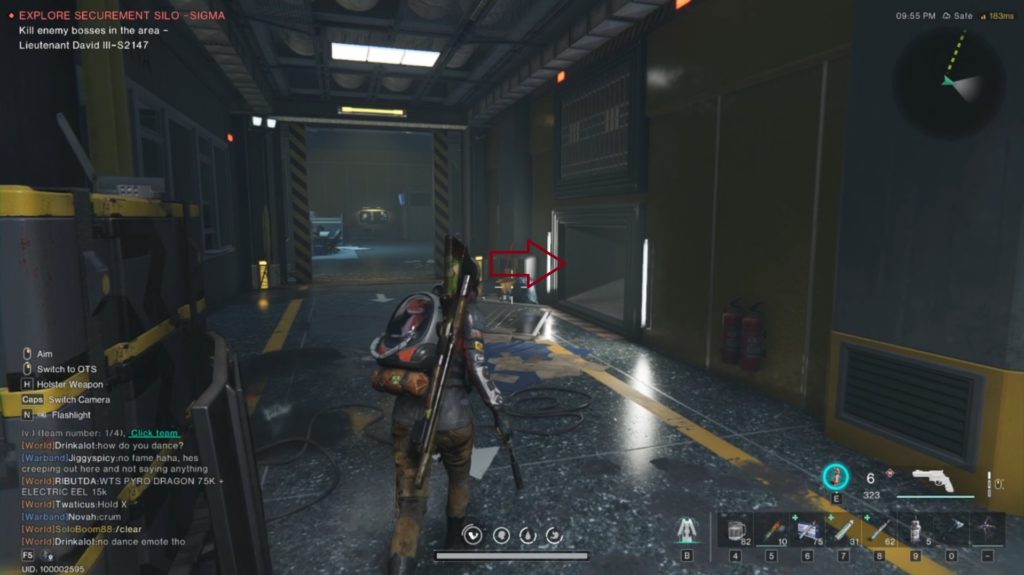
Follow the vents until you reach a ladder. Climb up the ladder and turn left. Continue following the vents until you come to the exit and our third room.
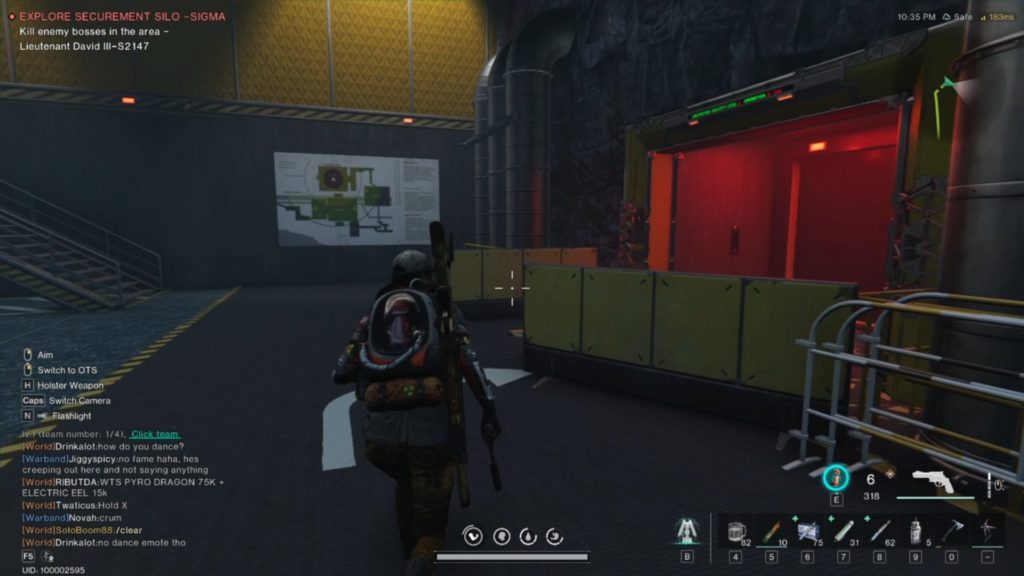
Third Room
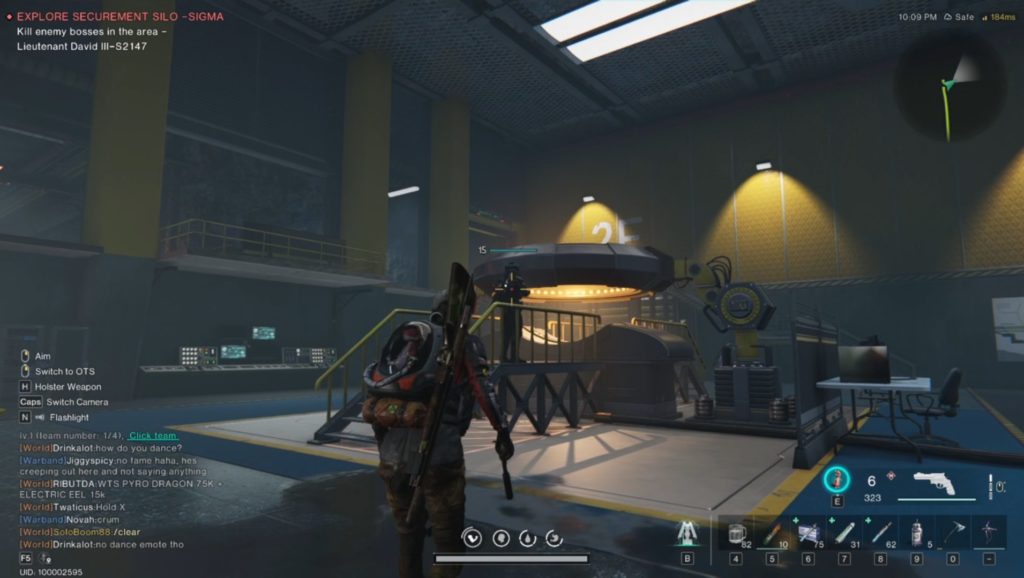
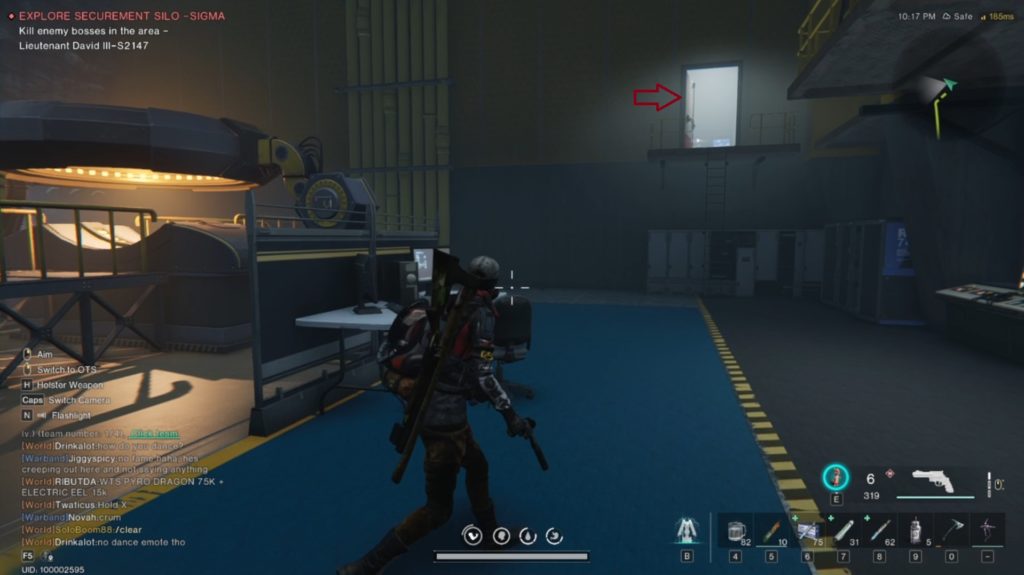
In the third room of the Securement Silo SIGMA are 4 enemies to eliminate. Take them out and loot the room. To the left of the vents you will see a ladder leading up to a room. Climb up the ladder and take out the single enemy in there. Loot the gear crate and go back to the third room.
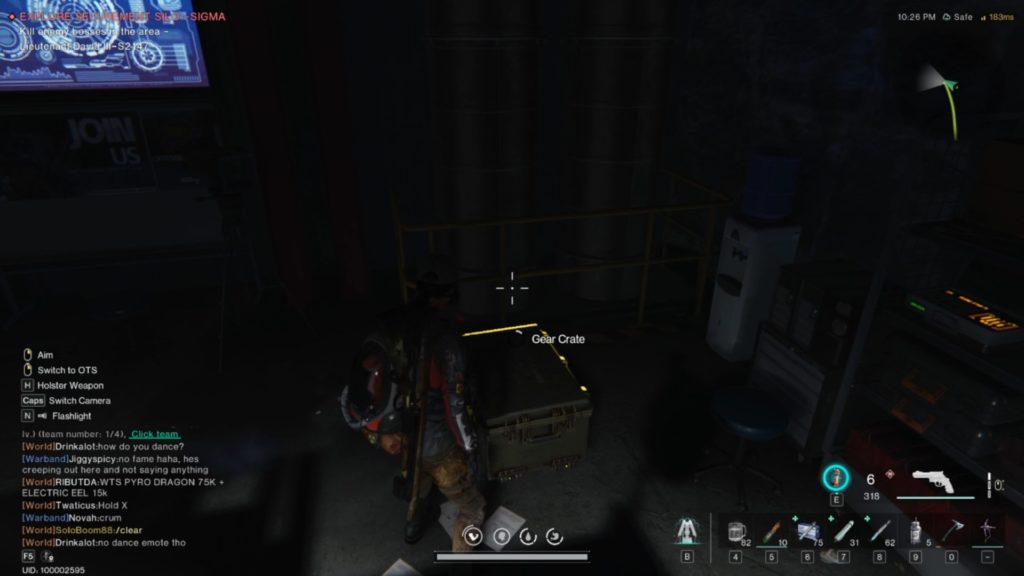
Now that we are back in the third room look for the elevator-looking doors lit up by red lights. Open this door and follow the corridor. This play area that you enter is a secret area and is an optional area to do. It is worth doing as you can find a Deviant here, Mr Wish the Illama, inside the playroom.
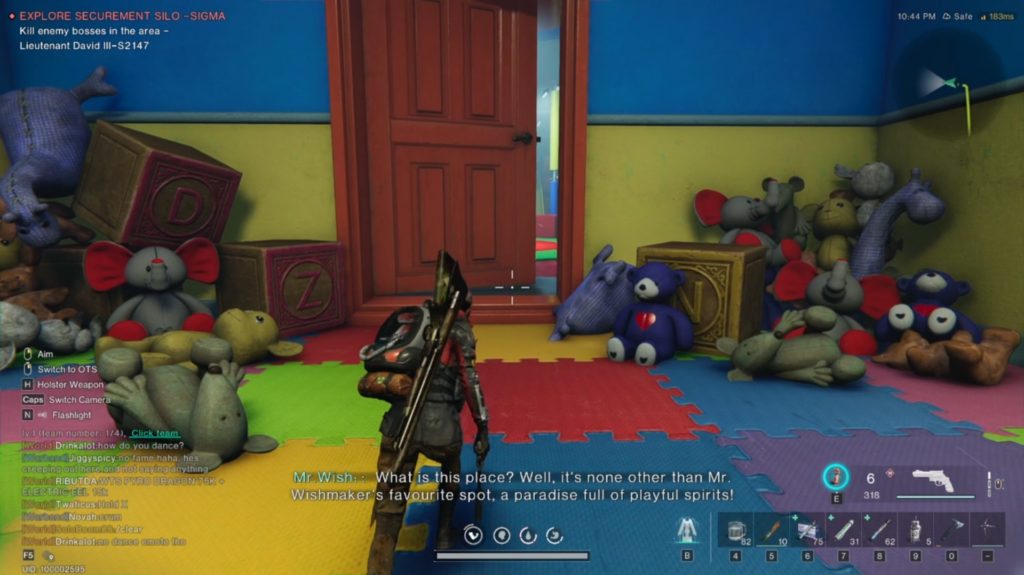
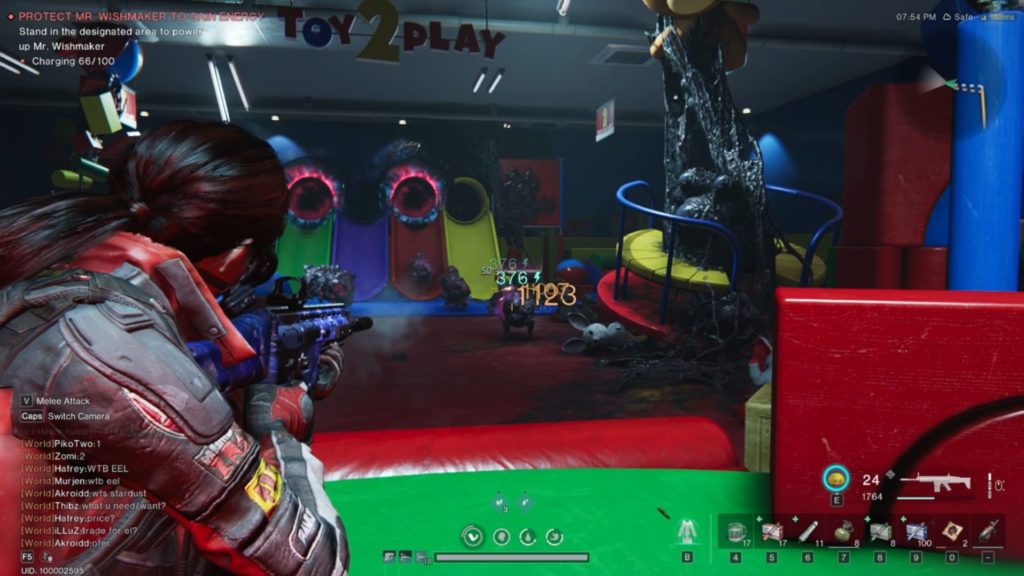
Enter the playroom and take out the 2 enemies. Go to the spinning clown and activate him. This will start a process of enemies spawning while Mr Wishmaker powers up. Take note that you will need to stay within the designated area for Mr Wishmaker to power up. If you step out he will stop powering up BUT the enemies will continue to spawn waves.

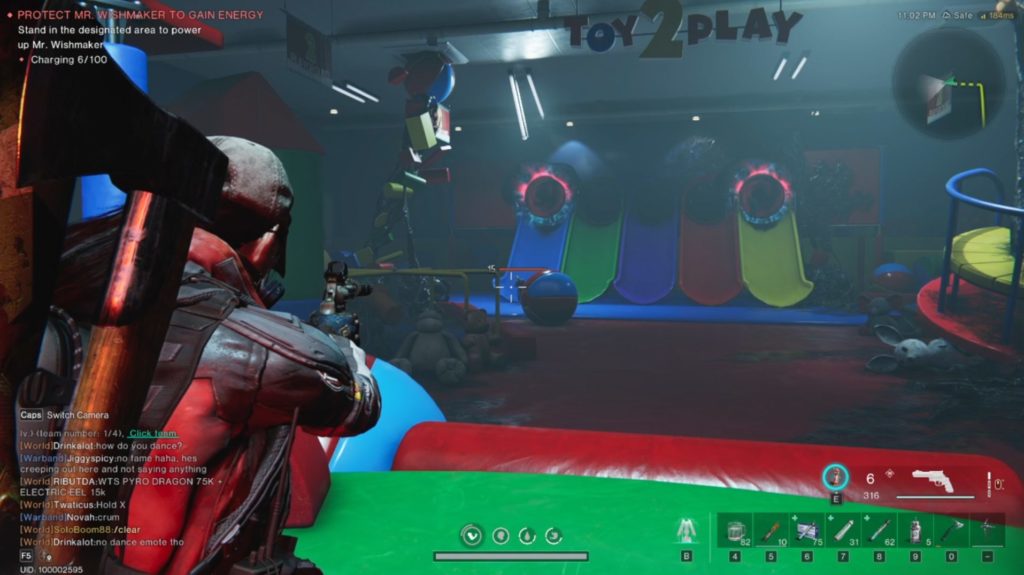
Once Mr Wishmaker has charged up to 100% the waves of mobs will stop spawning and you can claim your prize. I, personally, have not found Mr Wish the Deviant here yet, but I am hoping to claim him soon!
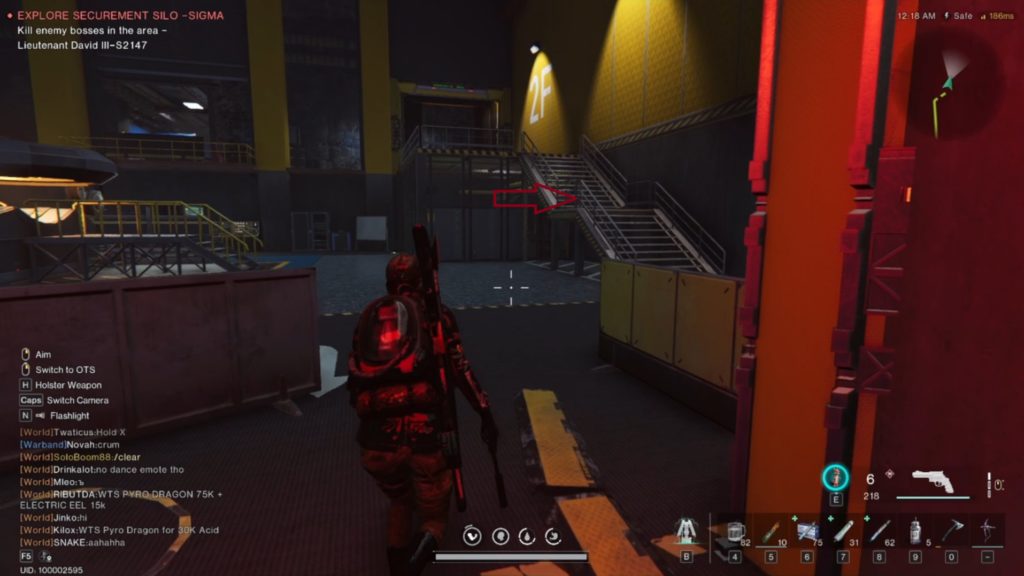
Head back the way you came and back into the third room. Proceed up the steps on the right to our fourth and final room!
Fourth Room
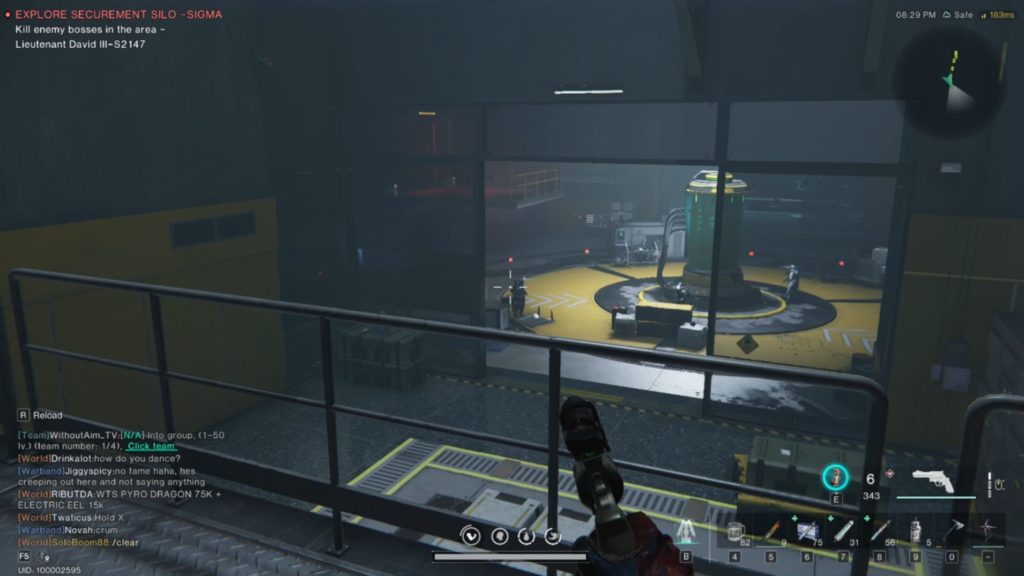
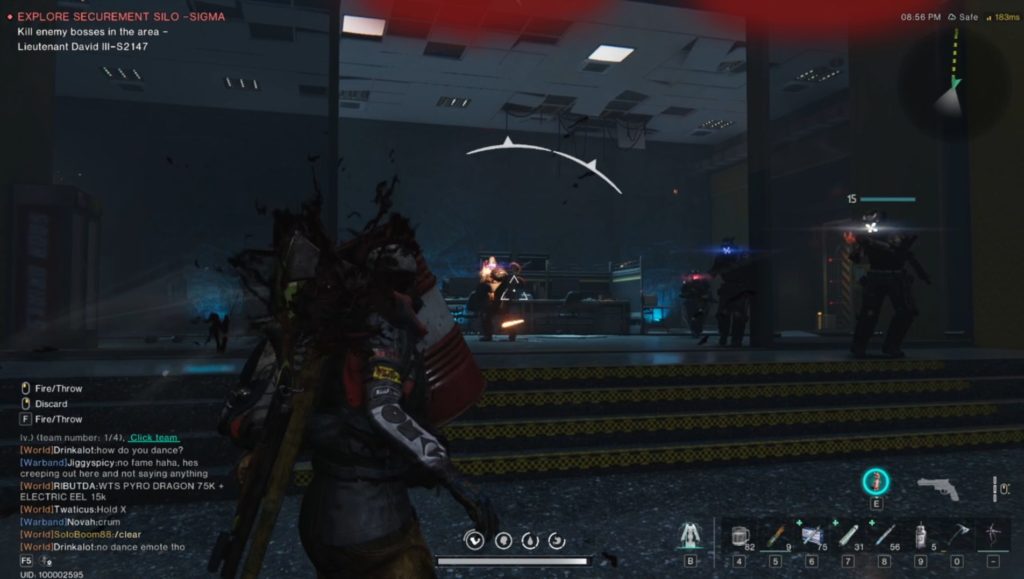
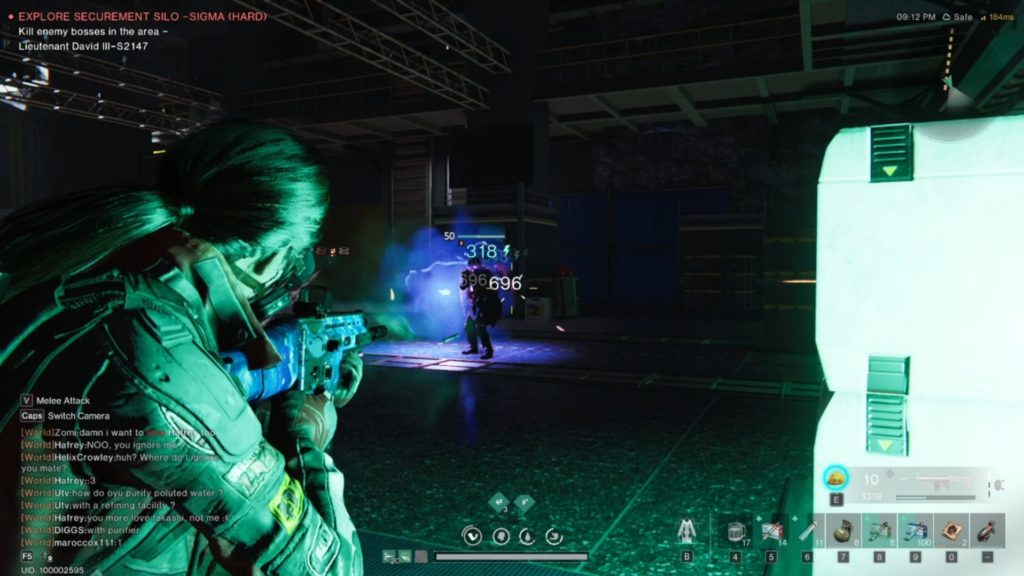
The fourth and final room houses the boss of Securement Silo SIGMA, Lieutenant David III – S2147. This beast wields a battling gun as his weapon and thick armor to protect himself. There are 2 medics in this room as well as 2 soldiers. To prevent David from being healed it is best to take the medics out first and then focus on Lieutenant David.
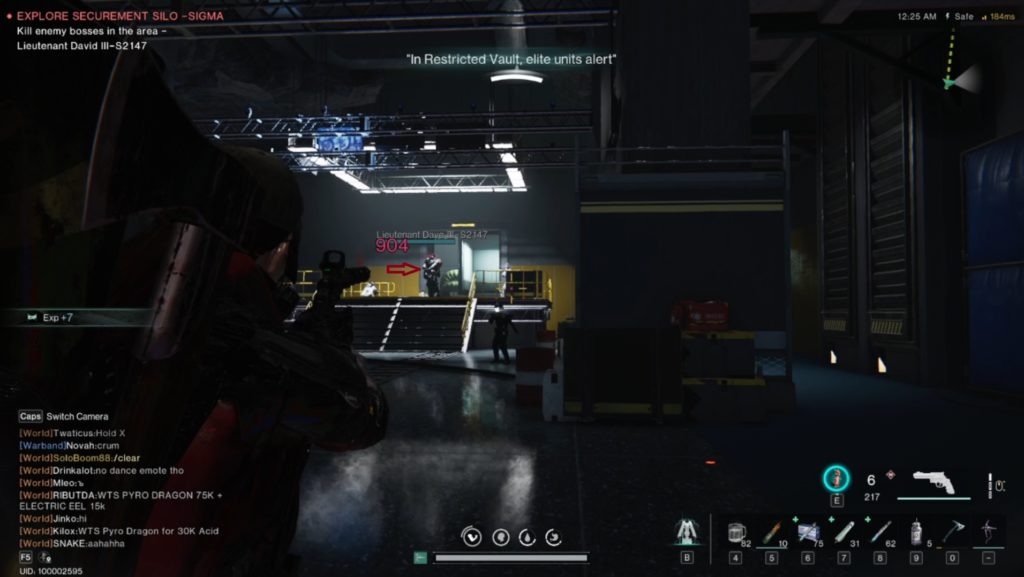
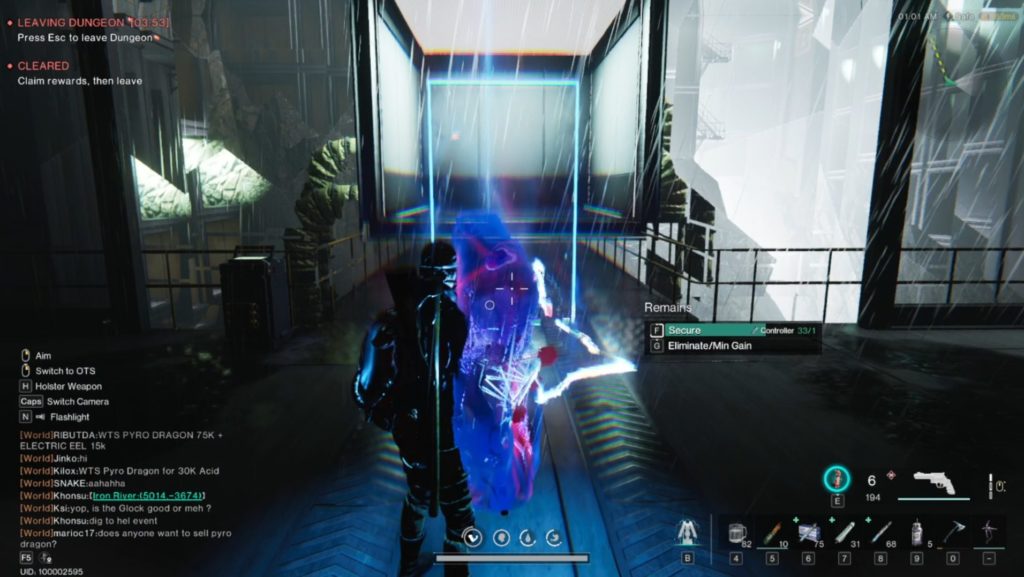
Use the cover in the room to avoid the battling gun attacks as you chip down Lieutenant David’s health. Once he is defeated you can loot the room and proceed to the final loot chest and the exit to the Silo.
Normal Difficulty Video Walkthrough
Hard Difficulty
For every silo, there are multiple difficulties. Each difficulty adds different elements to it making it more of a challenge. The silo itself does not change, but the amount of mobs and the difficulty of them increases. Hard difficulty increases the mobs level to level 50 making them tankier and do more damage. It also brings in a variety of mobs as well as adding slight differences to the bosses. Another difference is that there are mutations added to the silos with Hard and Master Difficulty. The mutations change from time to time giving you a different experience each time you do it.
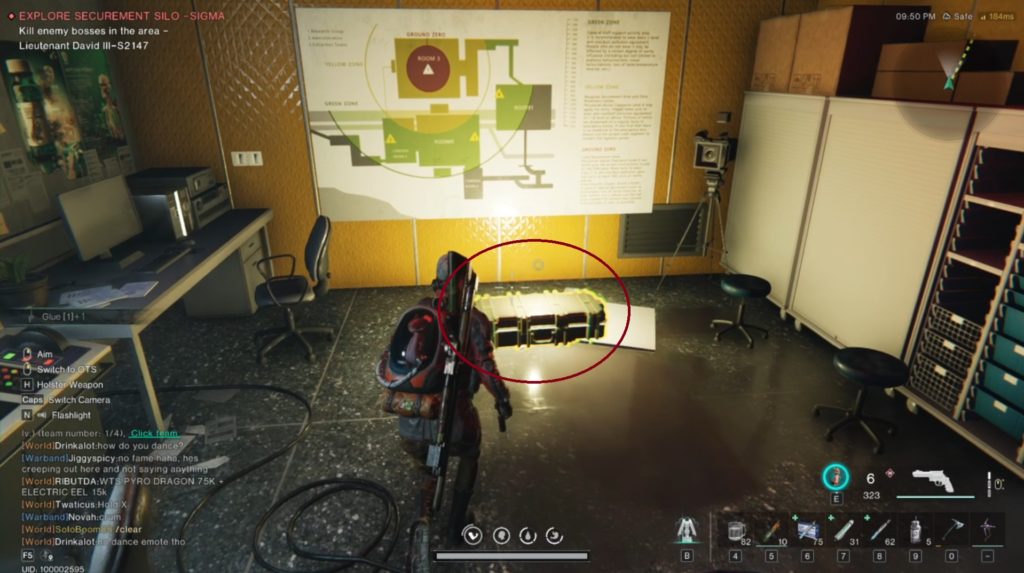
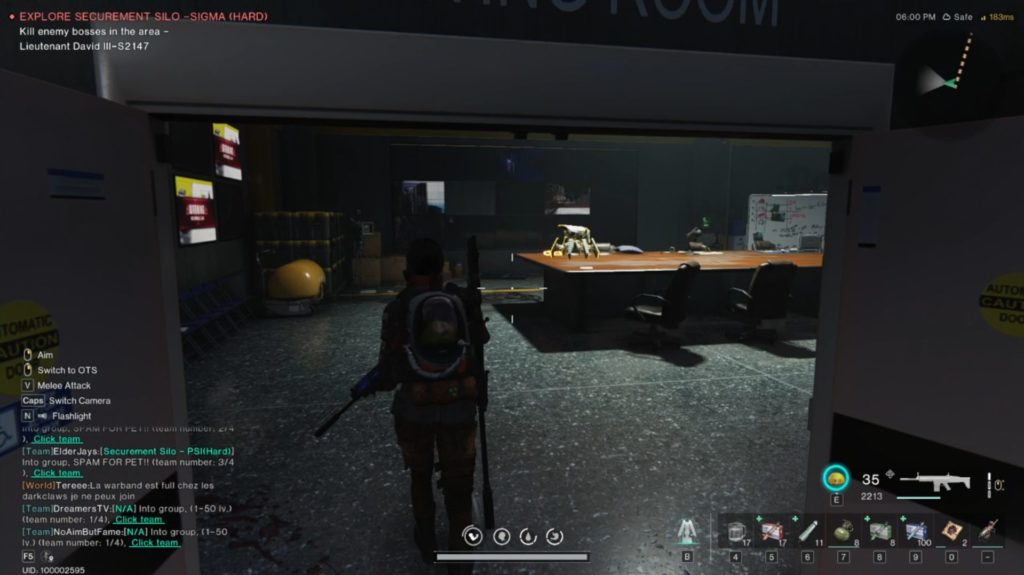
The first two rooms in Securement Silo SIGMA stay the same except for the increased mob level and damage that they deal. Other than that you do the same as what you would do in Normal Difficulty. There is a difference with the following room though. The boardroom does not spawn in any mobs in Hard Difficulty so you can just run through the two rooms and loots the crates and items lying around.
Once you have gone through the vents the next room has a difference in that it has one less mob but spawns in a current in its place. Continue to the Seepage Zone. Here you will find an Armor Crate that was not there in Normal Difficulty. You will face the same sort of waves as above but the mobs will just be more and stronger.
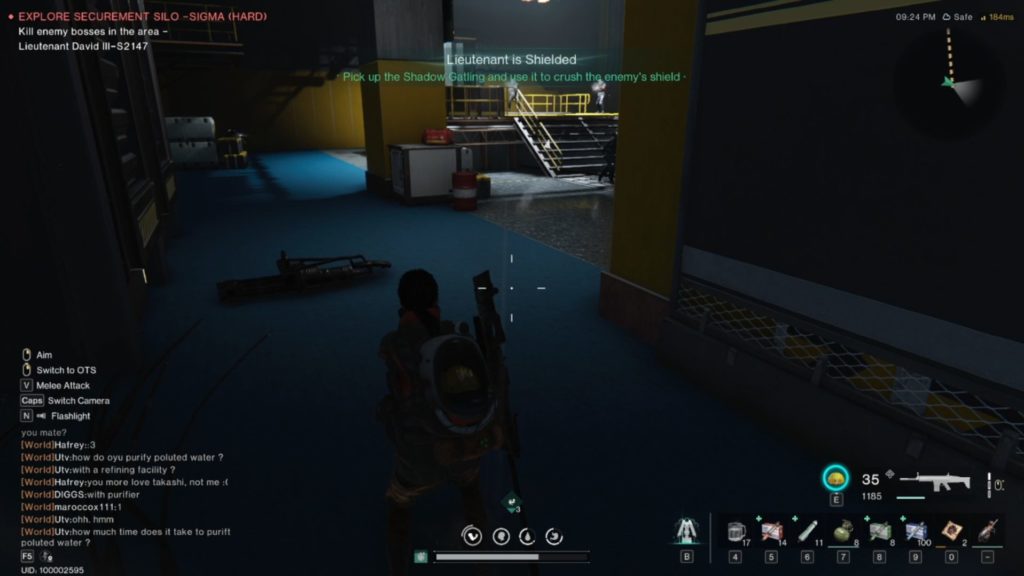
The boss fight is similar to Securement Silo SIGMA Normal Difficulty with two main differences. Firstly, there are 2 mobs that spawn homing drones that explode when they reach you. They do quite a large amount of damage so you want to try take them out as fast as possible. Lieutenant David is a lot stronger in Hard Difficulty and has an extra mechanic that you need to deal with. Once you have removed his shield and get him to half health, he will spawn a shield and go immune to your weapons. 2 gattling guns will spawn on either side of the room. You need to pick one of these up and use it to break his shield. Once the shield is broken you can continue to use your weapons as they will deal more damage.
That is it for Securement Silo SIGMA Hard Difficulty. All that you have left is to conquer it on Master Difficulty. Hard Difficulty provides you with Legendary Mods and very good rolls on them.
Hard Difficulty Video Walkthrough
Master Difficulty
Securement Silo SIGMA Master Difficulty was quite a letdown for I think most players in Once Human. I was expecting to get a lot better loot as well as have some different mechanics on the mini boss and boss, but this was not the case. While the silo does get a lot hard with level 60 mobs and increased damage and health, it also meant that I lost A LOT of durability on my weapons and armor. If that wasn’t enough, due to the large health pools of the mobs it took a lot more ammo to bring them down.
All in all the Master Difficulty silos I feel would only be worth farming as a group unless you have found a really powerful build that can take down mobs fast. While you do get a guaranteed epic roll on your legendary mods, the amount of resources you end up using is just not worth it as a solo player.
Master Difficulty Video Walkthrough
Securement Silo SIGMA Conclusion
This silo is the very first of six silos in Once Human currently. It is not very hard to do as long as you stay calm and focus on the objectives. I did Securement Silo SIGMA for the first time at level 34, so it was very easy to do. It is great to farm mats to disassemble as well as armor and weapon mods.
If you enjoyed this guide and found it helpful you can check out more guides on our homepage.
You can wishlist Once Human on Steam now!