


Securement Silo PHI Guide – Once Human
OVERVIEW
Once Human has entered its 3rd CBT (Closed Beta Access) with over 150,000 people participating in it. With the previous CBT ending roughly 3 months ago, the devs have made quite a few changes throughout the game, including lootable chests, redesigning some areas and Elite mob locations.
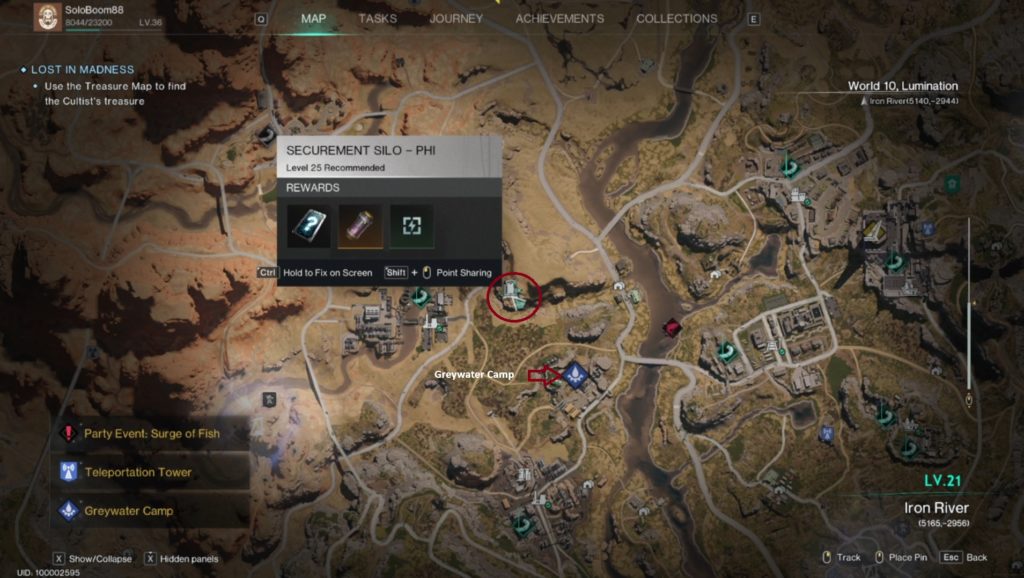
Securement Silo PHI is a fun silo to do. This silo requires a minimum level of 25 and can be run as a group or solo. Securement Silo PHI is important as it unlocks a Cradle slot which can increase your damage and armor. The loot you get does not change whether you do it solo or in a group.
I chose to do Securement Silo PHI as a solo player. I like challenging myself when I try out new content and this was a nice way to test it out. When I was doing this silo I found that using a revolver to be great as it has a high amount of weakspot damage, meaning that headshots do a massive amount of damage and in most cases can one-shot any mob. I chose to use a shotgun as my secondary weapon to help out with a close-range burst.
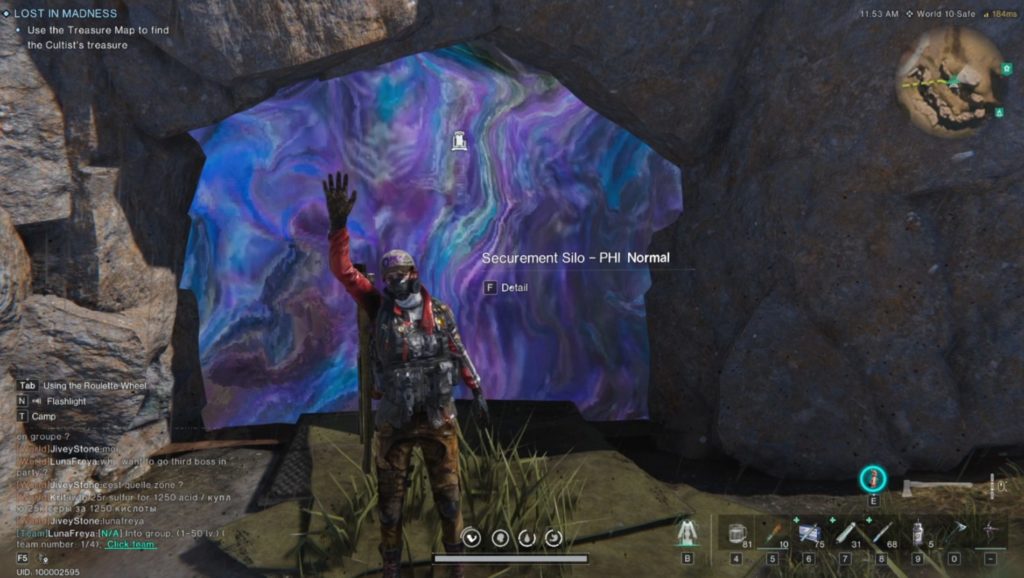
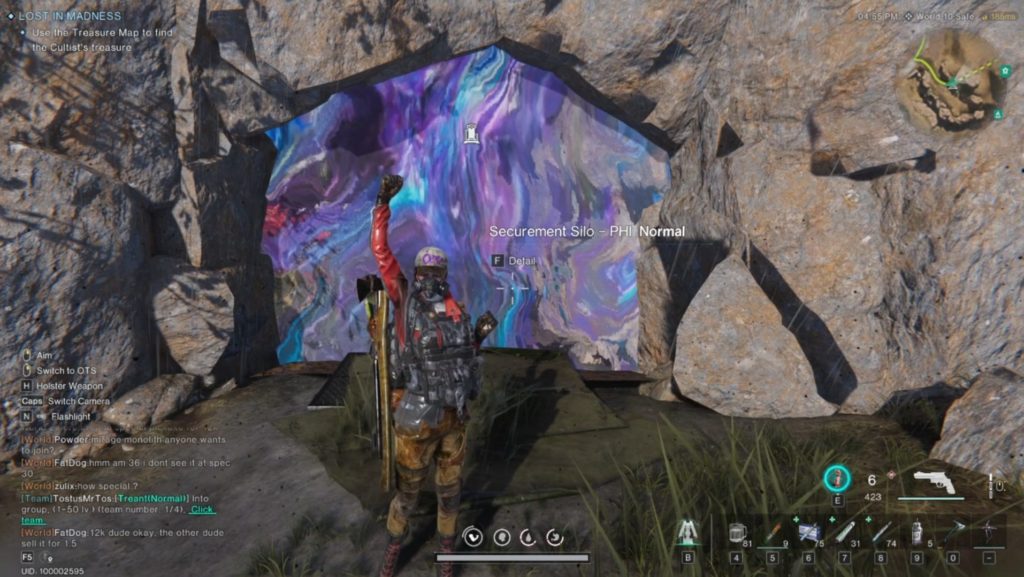
Securement Silo PHI can be found in the Iron River zone just North of Greywater Camp.
Normal Difficulty
First Room
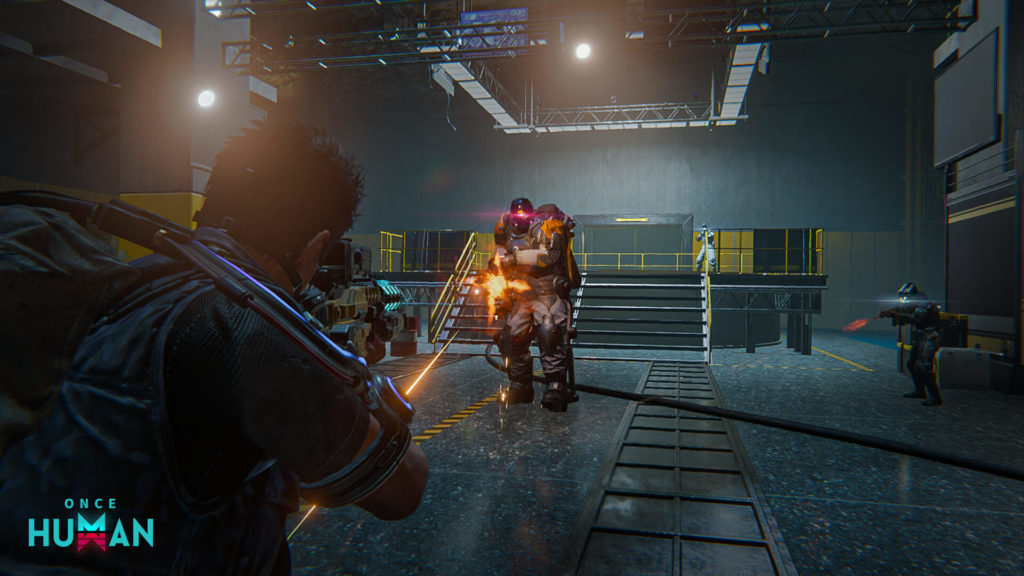
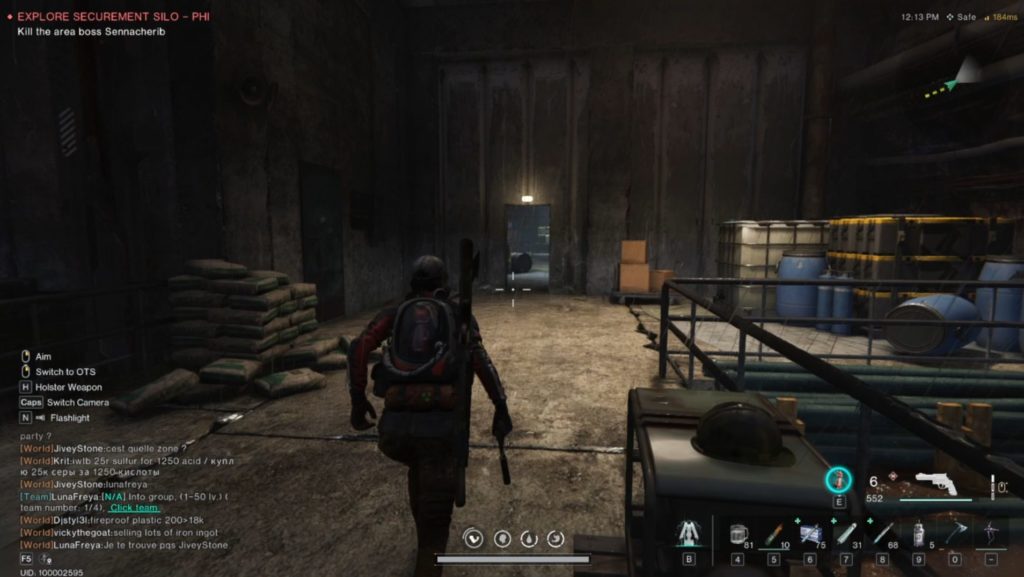
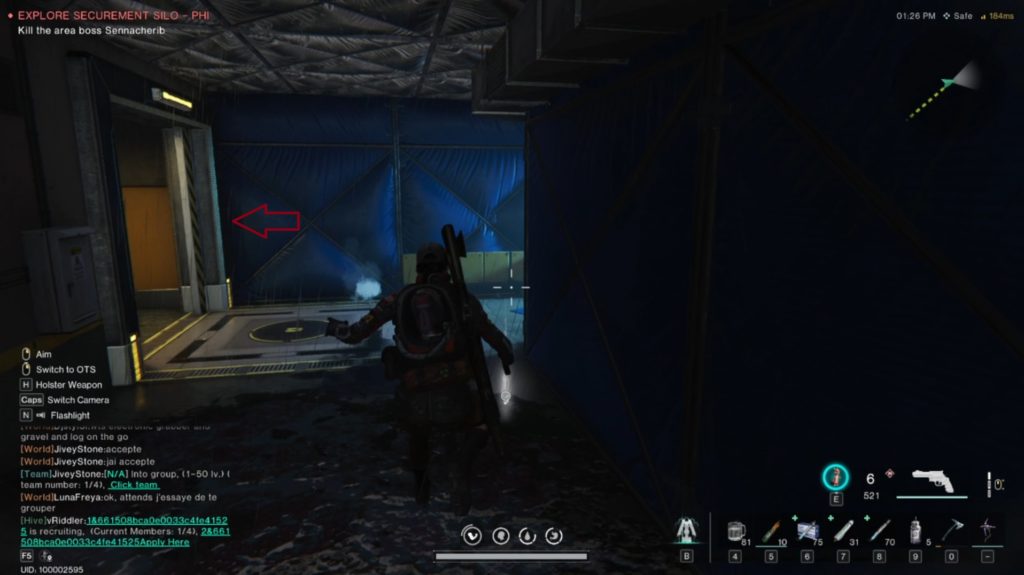
As you enter Sicurement Silo PHI you will spawn in a cave-like corridor. Follow the path to the first room of the silo. This room has 10 mobs in total that you need to kill. 6 of them move quite slow and are easy to take out with carefully placed headshots. The other 4 will spawn in after a short time of entering the room. They move a lot faster but take some time when spawning in. Make use of that time to take them out.
Once you have killed all the enemies, loot all dropped items and head for the door.
Corridors and Second Room
Once you have gone through the door you will be greeted with a corridor and 2 directions you can go. You want to take a left first and head to the second room of Securement Silo PHI. This room contains 3 mobs and some loot. The main item you want to grab here is the Access Card from the purple crate.
Make your way back the way you came and proceed down the corridor. Be careful of the spider-looking explosive canisters. Shoot them from range as they deal a decent amount of damage as well as knock you down. Grab the loot as you move along through the corridor. Take a left into the second room.
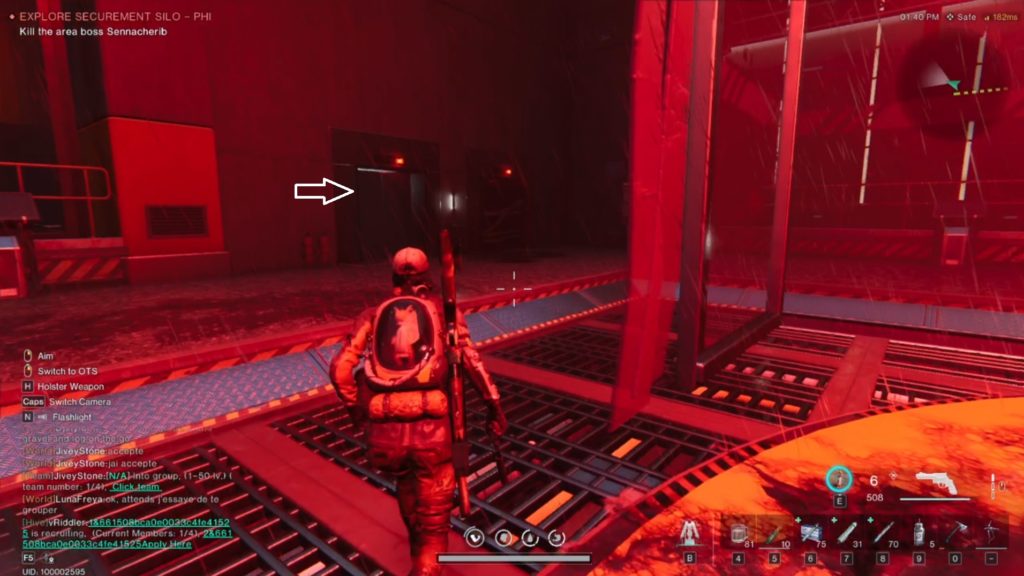
Third Room
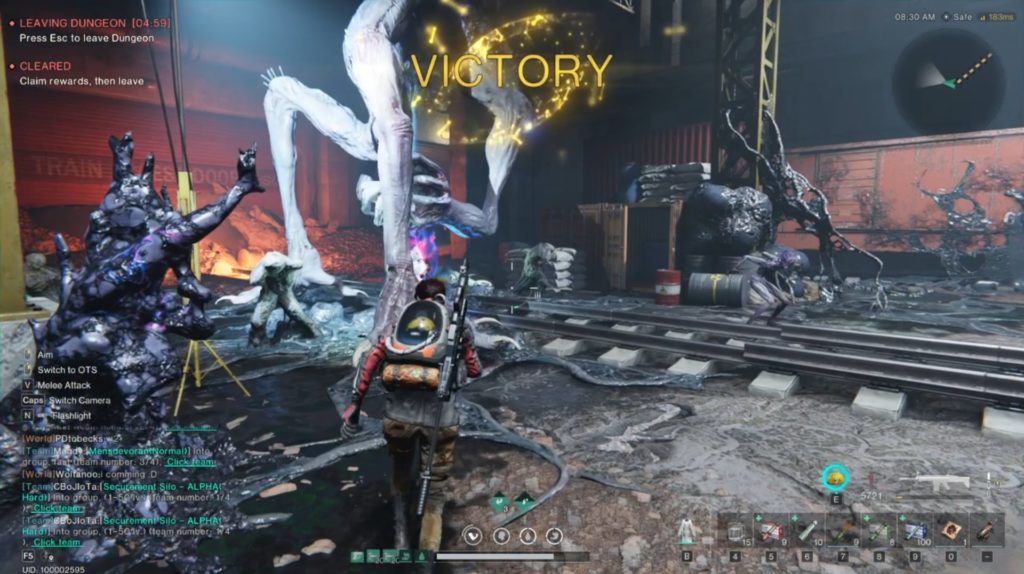
As you enter this room you will notice that it is much larger than the other room. There are a few mobs in this room that you need to take out. Deal with them and grab the loot. Straight ahead of where you entered the room are elevators. Go to them and use them to move onto the secret room of the silo. Just like Securement Silo SIGMA, Securement Silo PHI also has a secret section that contains a Deviant that you can catch. This deviant is Pyro the Dragon, which is great for PvP!
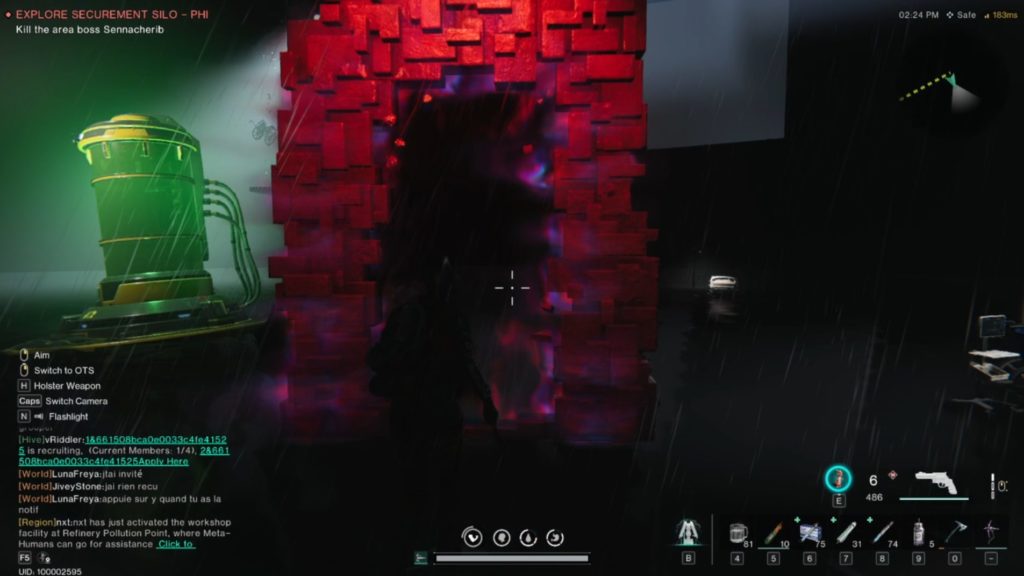
When you come out the elevator take a left and head into the rift. This will take you into the secret area which is a mental hospital.
Secret Room
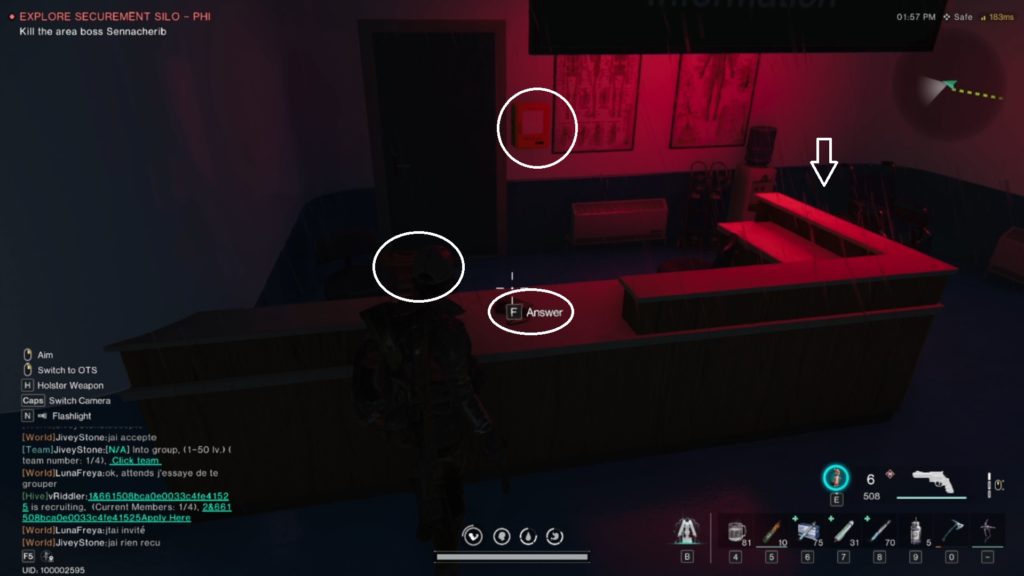
Once you enter the hospital answer the phone that is ringing. Loot the 3 medical bags and cabinets behind the counter. Head straight into the only room with open doors. Once you are inside it will trigger the next phase.
When the door opens there will be 4 mobs to kill and one elite. Once you have killed the elite 3 more mobs will spawn. Take them out and move through the portal that has spawned.
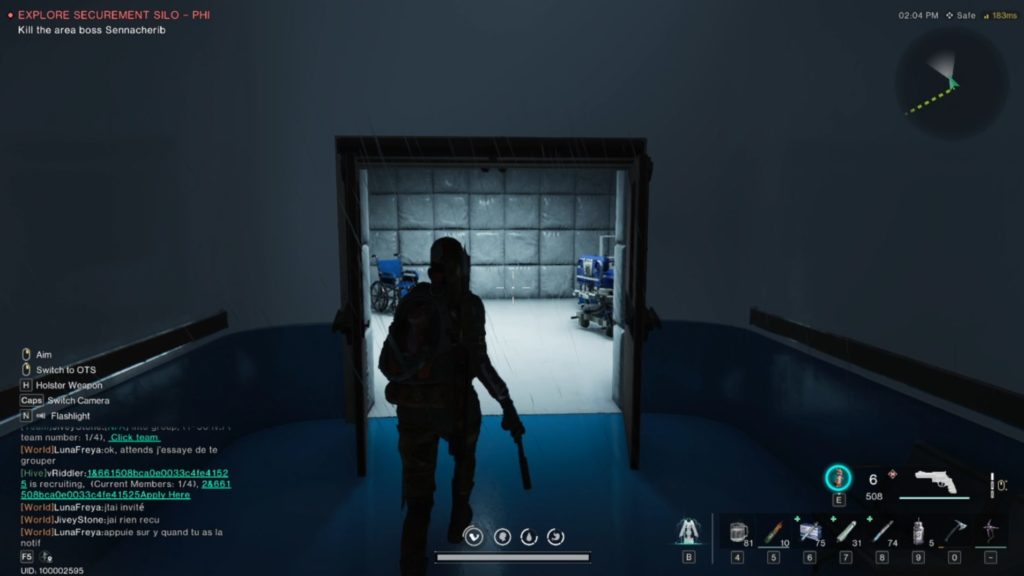
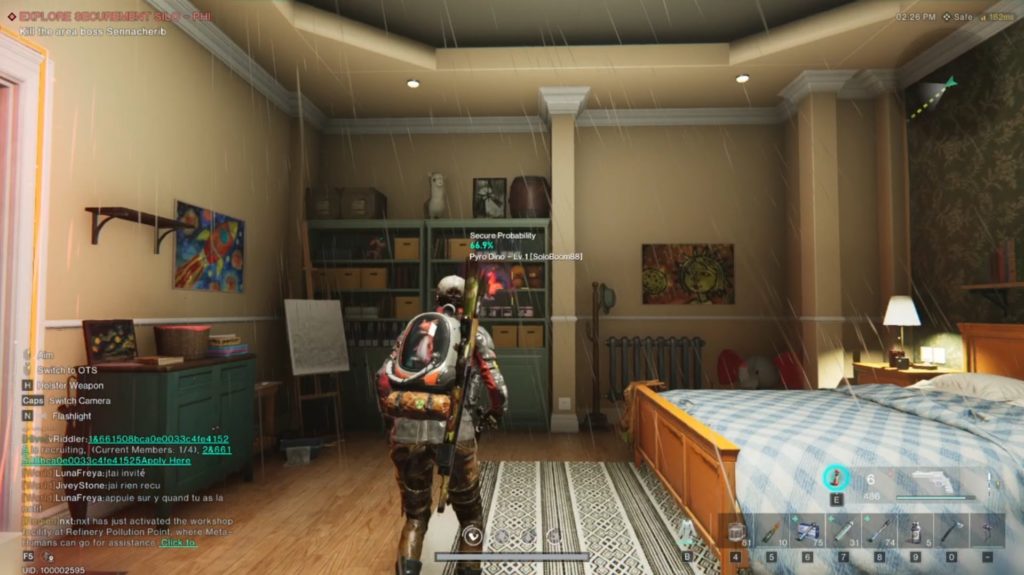
This next room is a bedroom where you can collect your loot and the Deviant “Pyro the Dino”. He does not always spawn in the room so you may have to do Securement Silo PHI a few times before you get him.
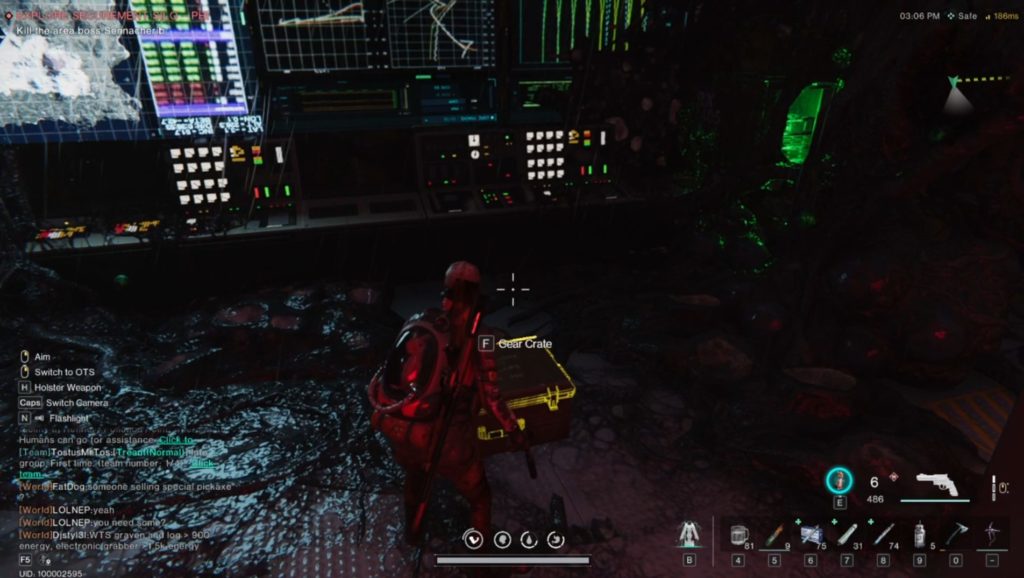
Head through the door. This will take you back to the hospital. You will want to make your way back out the hospital and into the third room. Head towards the door you came in. On the left, you will see an area that is rooted off. You can use a molotov to burn these roots away and get to the Gear Crate in there.
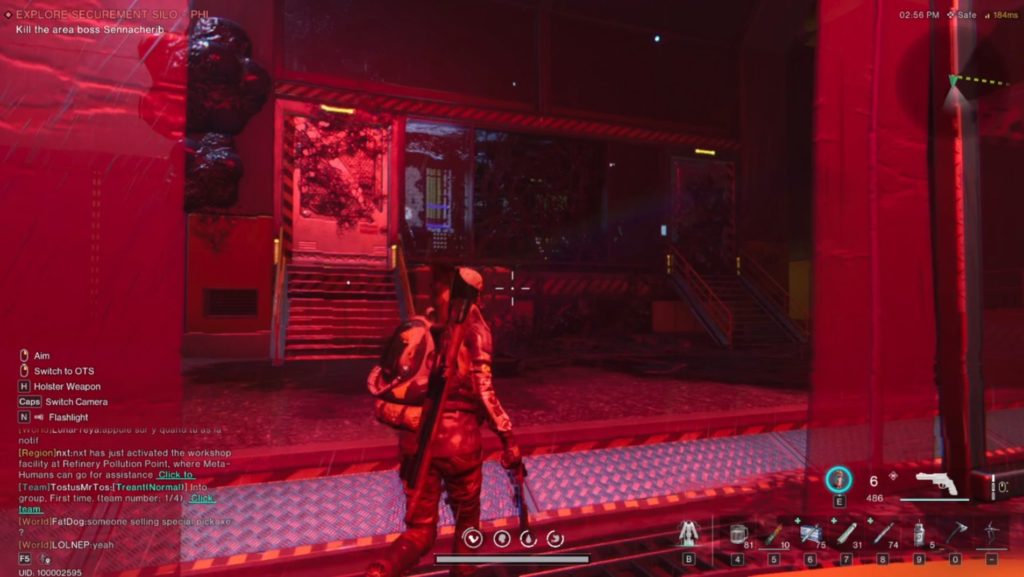
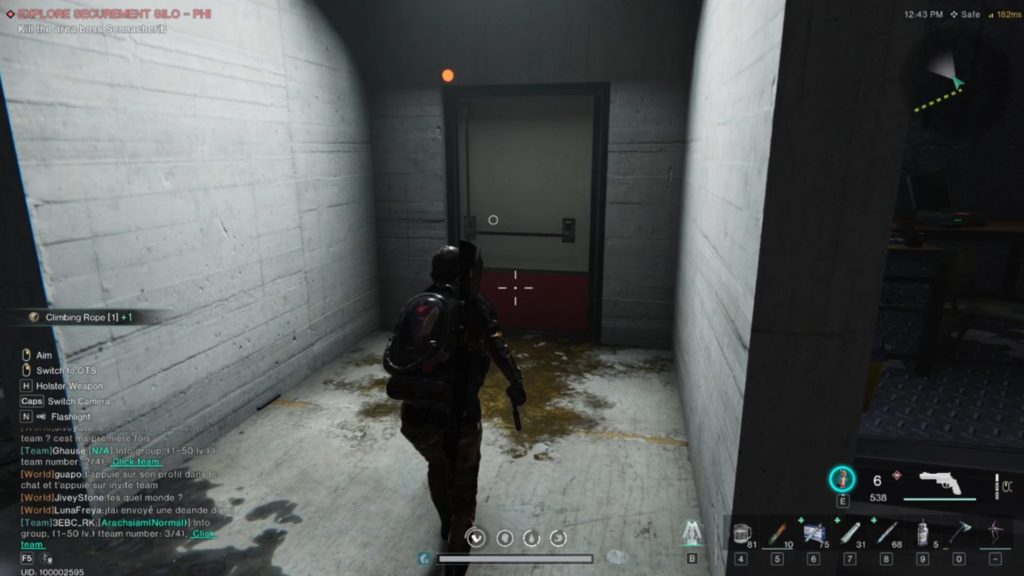
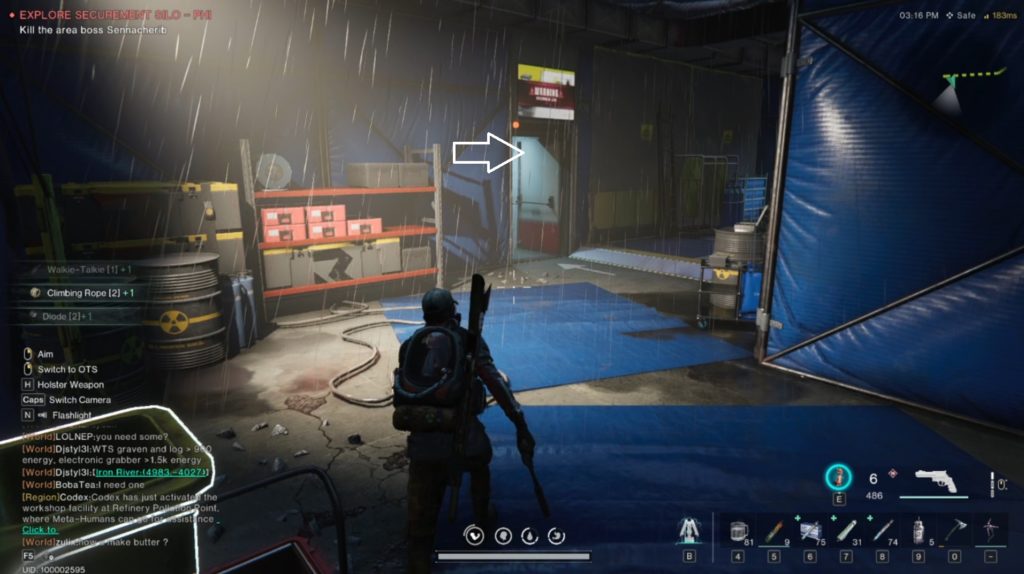
Hop out the room, turn right, and head to the panel. Use the access card you got from the purple crate in the second room to open the door. This will lead you into a little corridor and the fourth and final room in Securement Silo PHI.
Fourth Room
Loot the corridor as you run through it and enter the door leading to the fourth and final room for Securement Silo PHI. This room will require you to eliminate 4 Caverns. There are also other mobs in this room so take it slow and take each enemy out as you encounter them.
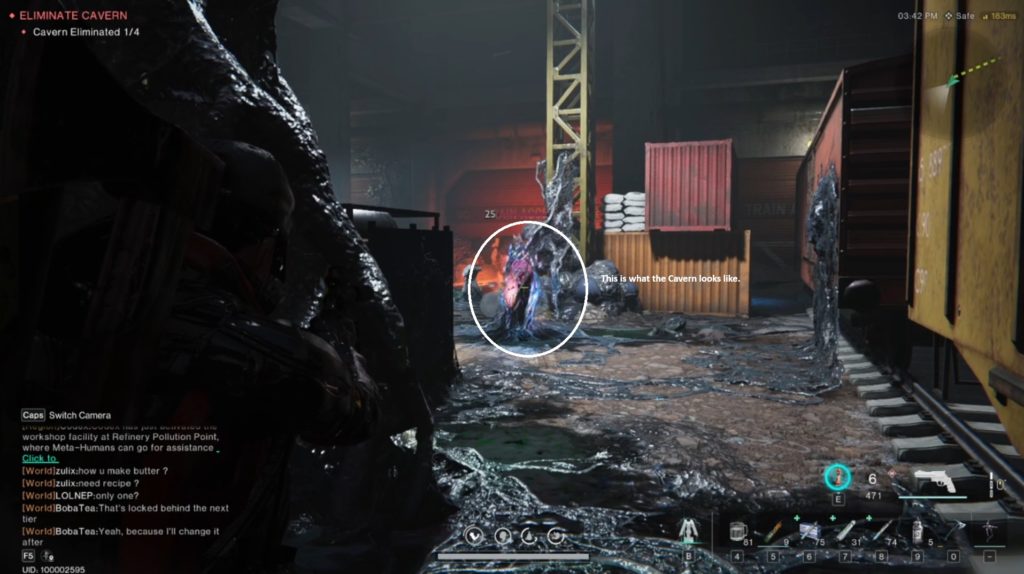
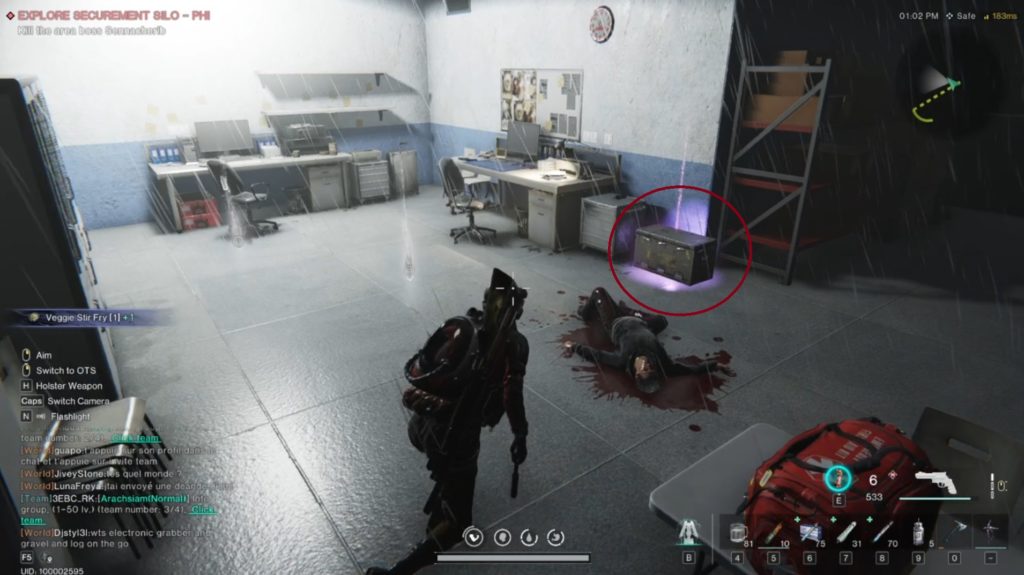
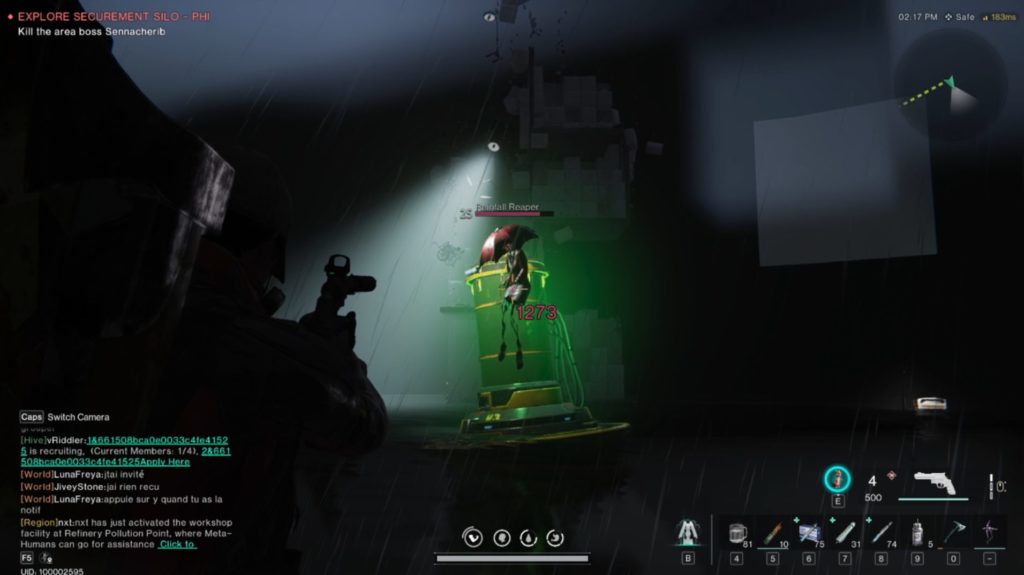
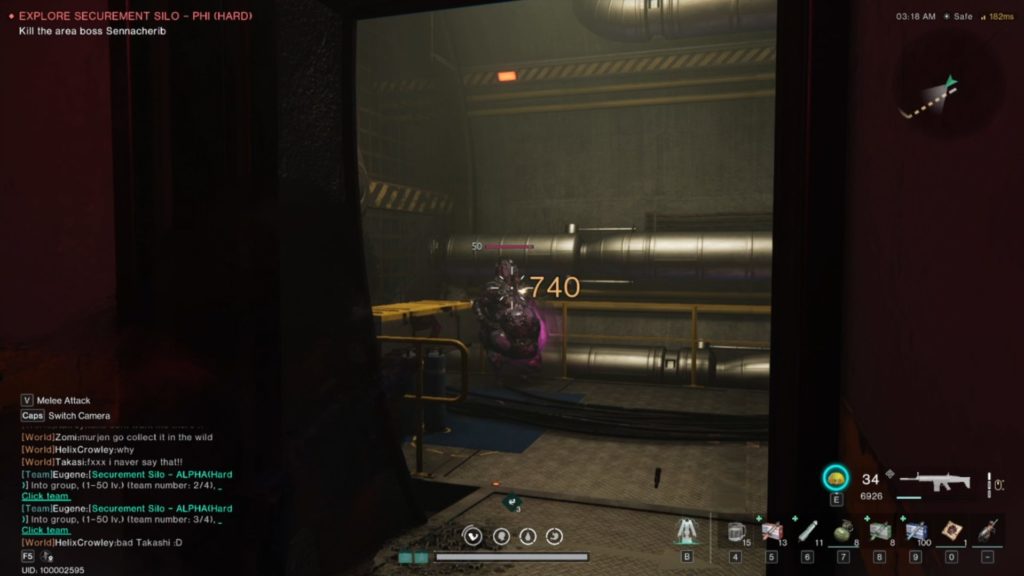
Once you have eliminated all the mobs and the Caverns, the Elite Boss “Sennacherib” will spawn. Along with him will be 4 other mobs that spawn. Depending on the damage you deal it would be best to ignore the 4 other mobs and kill Sennacherib as fast as possible. You will notice what looks like a sack hanging underneath him. Shoot that first and destroy it. This will stun him for a few seconds giving you enough time to deal a lot of damage to him. Finish him off and kill the other 4 mobs. Grab all the loot in the room. There are a total of 6 crates to loot in the fourth room as well as the boss loot and Silo completion loot.
Normal Difficulty Video Walkthrough
Hard Difficulty
For every silo, there are multiple difficulties. Each difficulty adds different elements to it making it more of a challenge. The silo itself does not change, but the amount of mobs and the difficulty of them increases. Hard difficulty increases the mobs level to level 50 making them tankier and do more damage. It also brings in a variety of mobs as well as adding slight differences to the bosses. Another difference is that there are mutations added to the silos with Hard and Master Difficulty. The mutations change from time to time giving you a difference experience each time you do it.
Securement Silo PHI does not change much besides the Seepage Area and the end Boss. One of the main things to watch out for would be the exploding mobs that are in Hard difficulty. They tend to be around corners and in places you don’t expect and do quite a decent amount of damage if they explode on top of you. They also leave residue on the floor that deals tick damage if you stand in it. Wait a bit for it to disappear before moving through it.
Follow the same steps as normal and continue until you enter the Seepage Zone. You will encounter an increased amount of mobs on your way to the Seepage Zone so be prepared.
In Securement Silo PHI Hard difficulty the Seepage Zone has a different boss to the Normal version. This boss is considerably harder and has different attacks and mechanics. Mobs will continuously spawn in while fighting the boss so make sure to keep moving and try and eliminate ones that are causing problems for you.

The boss has a shield that you will need to get through first before it will take damage. It starts off by shooting 3 projectiles at you. They are quite easy to dodge if you are paying attention. The boss will emit a cloud of poison throughout the entire room. This will do tick damage to you while it is up so make sure to keep an eye on your health and heal up. While the cloud is active it is best to keep moving as the boss will keep shooting bubbles into the sky and having them drop down on you. Keep dodging them as they do A LOT of damage. The boss repeats this as well as summoning mobs until you have killed it. My tips would be to keep moving, eliminate the mobs ASAP, and then focus on the boss as much as possible.

Once you have eliminated the boss you can go into the next room to collect your loot. Pyro does still have a chance to spawn in the room so keep an eye out for him.
Continue on to the main boss of Securement Silo PHI. The biggest difference with this boss is that he has a shield and slightly different mechanics. Once you engage Sennacherib you will notice he has a shield and is a lot more tanky than the normal version. You want to follow the same steps as normal by shooting the mob hanging below him to bring him into a downed state. Once the shield is removed he will spawn a barrier. You will need to be inside the barrier to deal damage to the boss. Once the boss gets to half health he will go immune and spawn 2 Caverns that you need to go and destroy. Run out the barrier and destroy the 2 Caverns to continue to defeat the boss. The boss will continue to spawn mobs throughout the fight so make sure to eliminate them when you can.
Hard Difficulty Video Walkthrough
Master Difficulty
The Master Difficulty was not what we were expecting for most players in Once Human. I personally was expecting to get a lot better loot as well as have some different mechanics throughout the silo, but this was not the case. While the silo does get a lot hard with level 60 mobs and increased damage and health, it also meant that I lost A LOT of durability on my weapons and armor. If that wasn’t enough, due to the large health pools of the mobs it took a lot more ammo to bring them down.
All in all Master Difficulty Securement Silo PHI I feel would only be worth farming as a group unless you have found a really powerful build that can take down mobs fast. While you do get a guaranteed epic roll on your legendary mods, the amount of resources you end up using is just not worth it as a solo player.
Master Difficulty Video Walkthrough
Securement Silo PHI Conclusion
This silo is the second of six silos in Once Human currently. It is more of a challenge than the first silo but quite manageable if you focus and take your time. I did Securement Silo PHI for the first time at level 28, so it was easier to do than normal. It is great to farm mats to disassemble as well as armor and weapon mods. Hard Difficulty is recommended to be done once you are level 50 and have decently calibrated guns and armor. Hard difficulty is a great mode to farm legendary mods on!
If you enjoyed this guide on Securement Silo PHI and found it helpful you can check out more guides on our homepage.
You can wishlist Once Human on Steam now!