


Securement Silo ALPHA Guide – Once Human
OVERVIEW
Once Human has entered its 3rd CBT (Closed Beta Access) with over 150,000 people participating in it. With the previous CBT ending roughly 3 months ago, the devs have made quite a few changes throughout the game, including lootable chests, redesigning some areas and Elite mob locations.
Securement Silo ALPHA requires a minimum level of 35 and is important to do to help unlock Cradle slots. This is the fourth of six silos in Once Human. I really enjoyed doing this silo and it is probably one of my favorites to do. You can solo Securement Silo ALPHA or do it in a group. Loot does not change if you solo or in a group but doing the silo in a group is much faster!
I chose to do Securement Silo ALPHA as a solo player. I found using the SCAR or JAWS very good primary weapons due to the high damage they deal. I took the AWM as my secondary as it is very useful for taking out enemies at range, making the silo just a little easier.
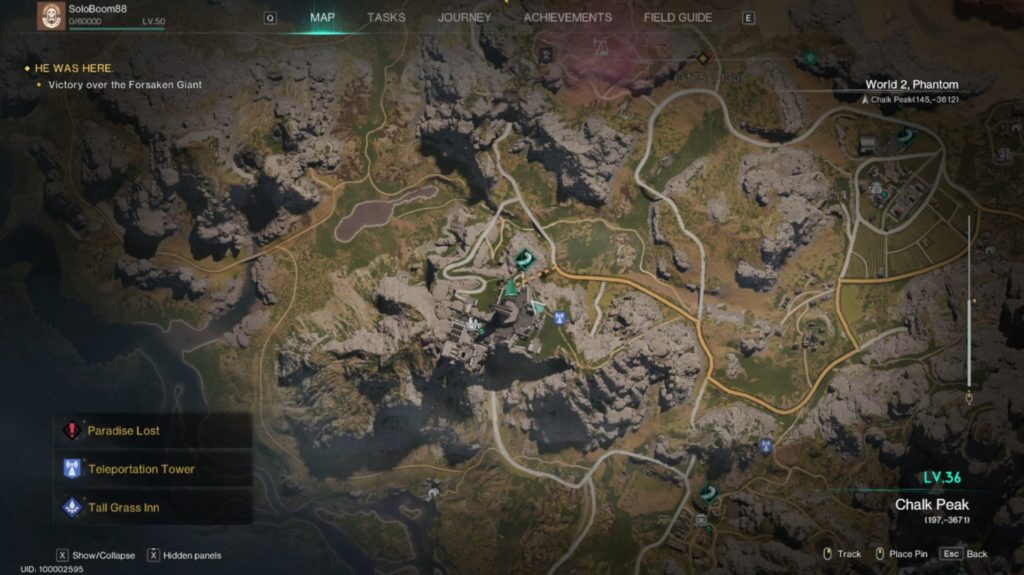
Securement Silo ALPHA can be found in the Chalk Peak zone North-west of the Monolith of Thirst.
Normal Difficulty
First Room
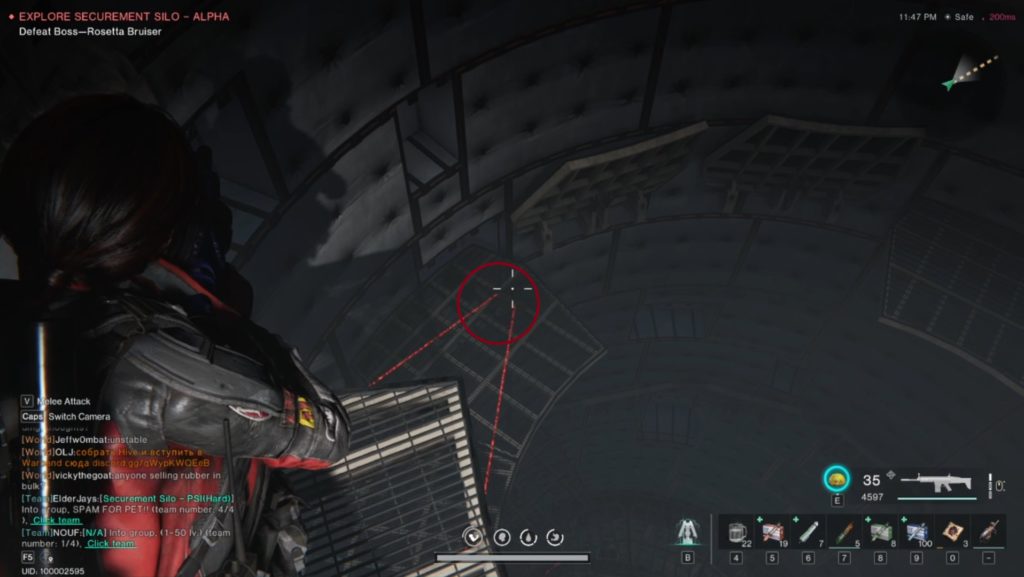
When you load into Securement Silo ALPHA you will notice only 1 way to go. Go straight until you come into what looks like a silo. Look down and take out as many claymores as possible. This allows you to have more places to land when flying down the silo. Jump and fly down until you land on the chest. Loot the chest and jump and glide across to the door.
Second Room
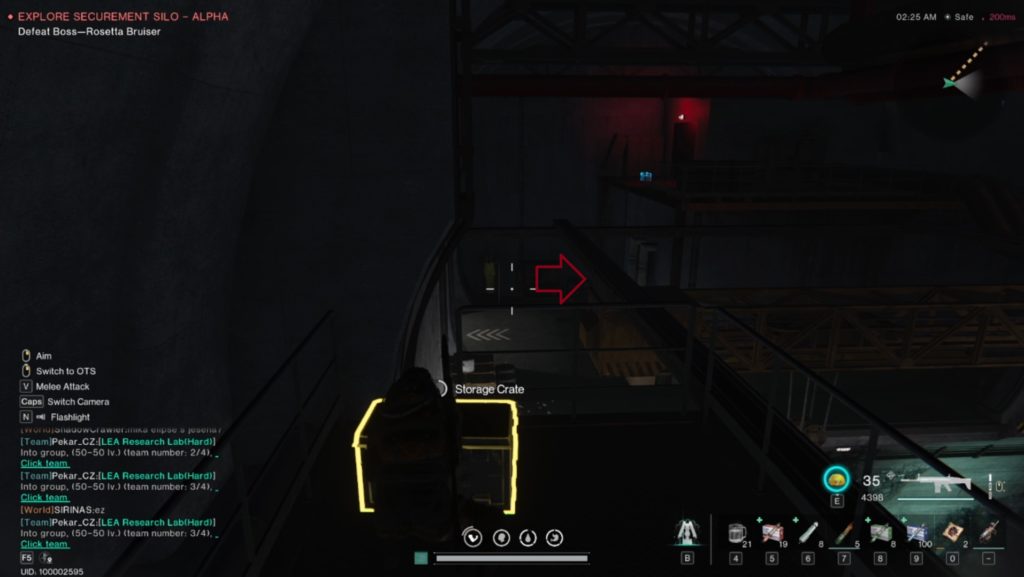
Once through the door, proceed up the flight of stairs to the next corridor leading to the second room. Take out the two guards at the top of the stairs and continue through the door. Loot the crate at the end of the corridor. You will be able to start taking out the mobs in the second room from the corridor. Take out as many as you can before proceeding through the door.

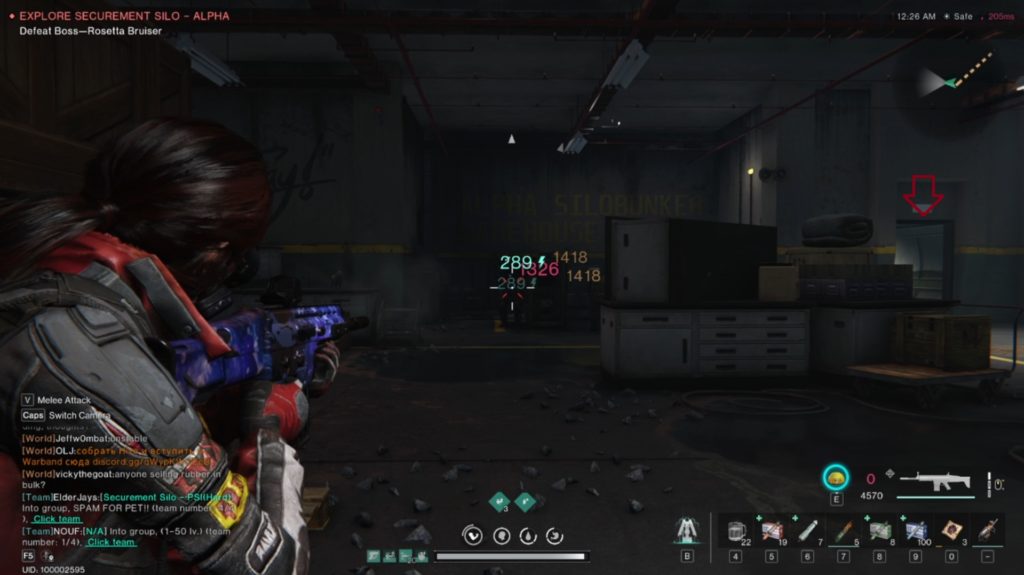
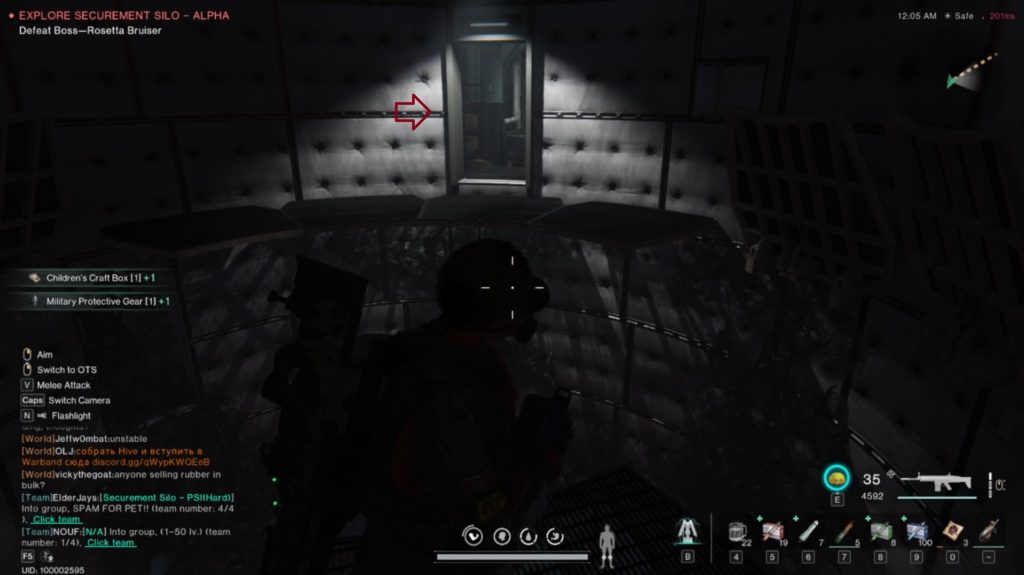
After taking out all the mobs, loot everything you can. Make sure to check the entire room as it has a lot of loot lying around. Once you are done, move through the door on the right as shown in the image above.
Corridor and Third Room
Moving through the door will lead you into another corridor. This corridor also has a staircase with two mobs at the top of them. You can take them out from the bottom of the staircase as shown in the picture below.
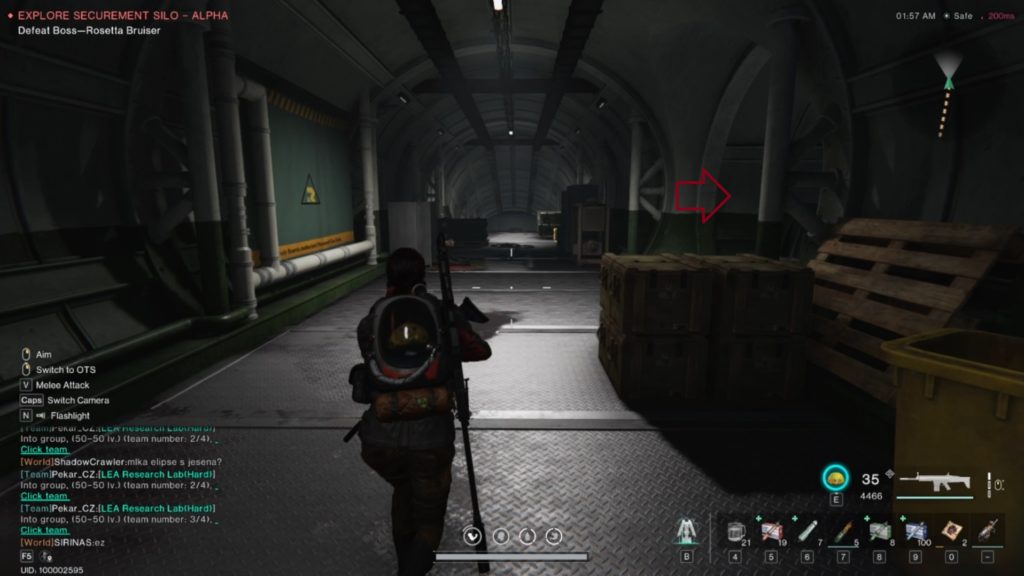
Continue down the corridor looting as you go. Follow the corridor past the zig-zag and into the third room. This room has some normal mobs and an elite with an access card. Take them all out and loot what you can. The access card is to go into the room marked in the image below. It contains some loot lying around and a weapons crate.

Once you have looted everything make your way back the way you came. Once you get to the corridor where you killed the two mobs you want to turn right and go through the door.
Fourth Room
This next room will be the fourth room of Securement Silo ALPHA and contains a couple of mobs. There are mobs on the ground and above on the rafters. Take them out and loot up!
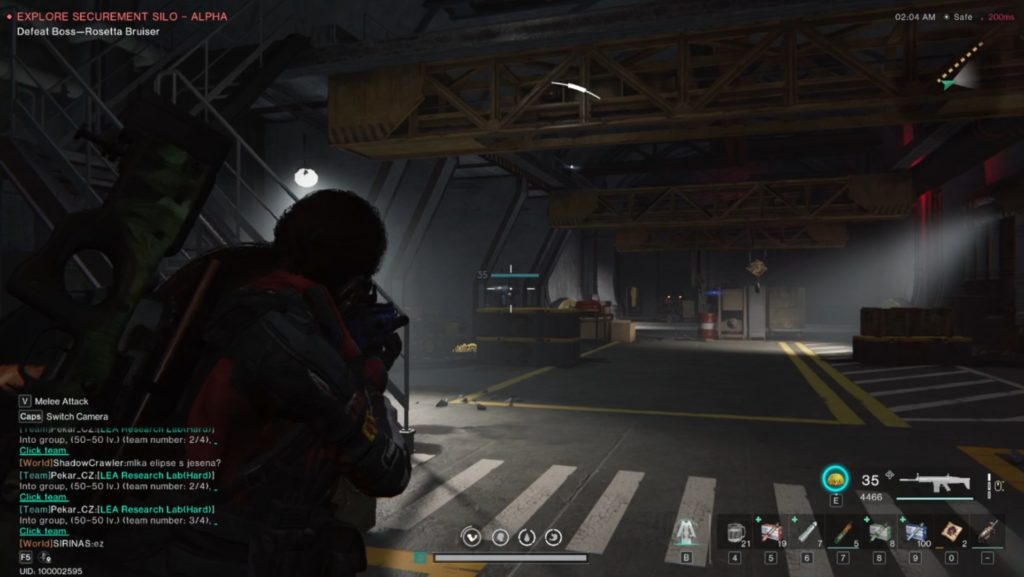
After looting the last crate above, drop down and go through the gap where you will encounter two guards. Take them out and open the doors. This will lead you to the Seepage Zone.
Seepage Zone
For this Seepage Zone you must use a Stun Baton. It does not matter what the tier of it is. You will need this to hit the generators and power them. This is the only way of getting the boss to spawn.
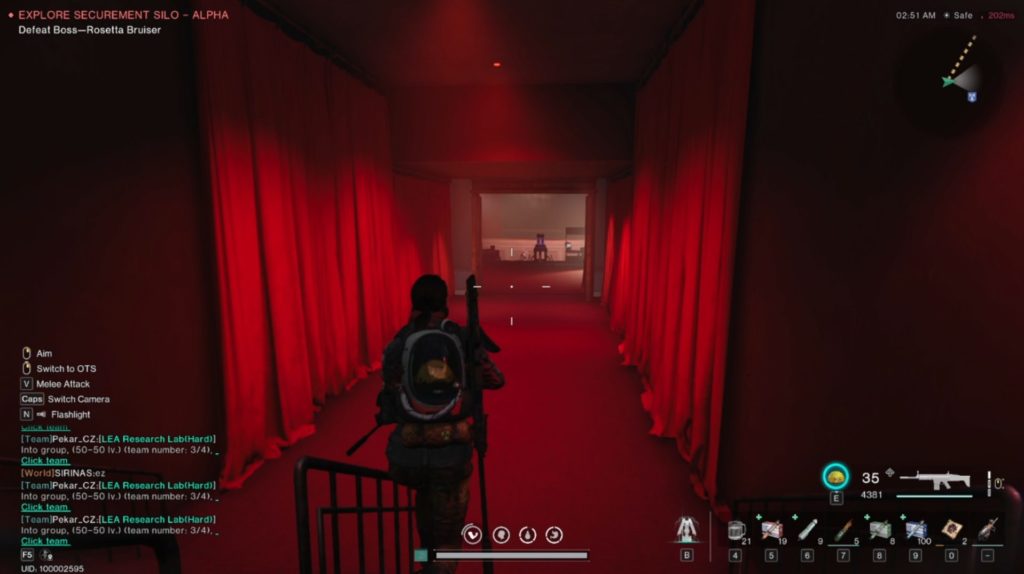
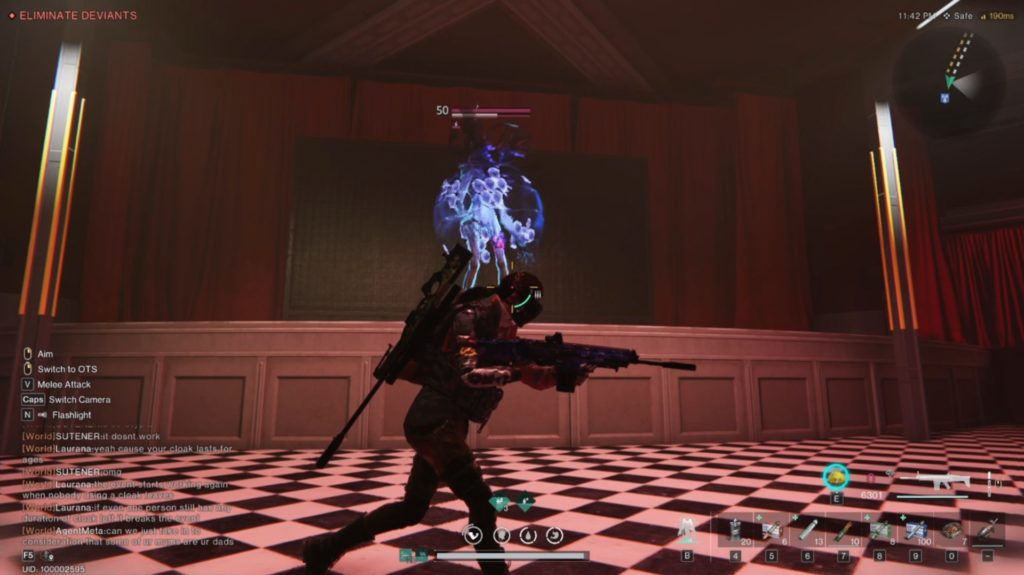
Proceed down the stairs and take out all the enemies around and in front of the stage.
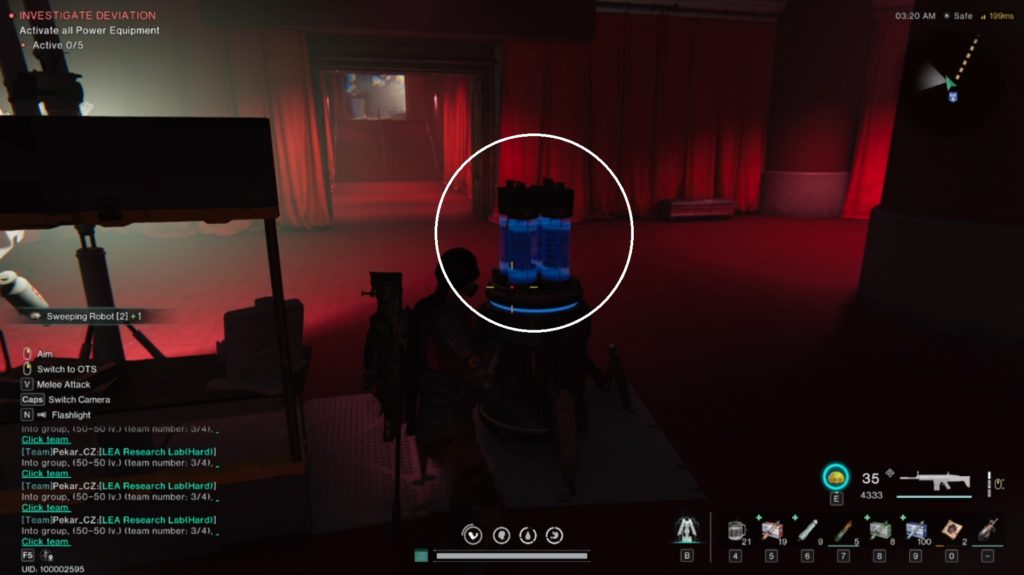
The above image shows you what the generators look like. There are a total of 5 that you need to power. Hit them all once with the stun baton to give them power. Once you have activated all 5 the boss will spawn on the stage. Take the boss out and collect your loot!
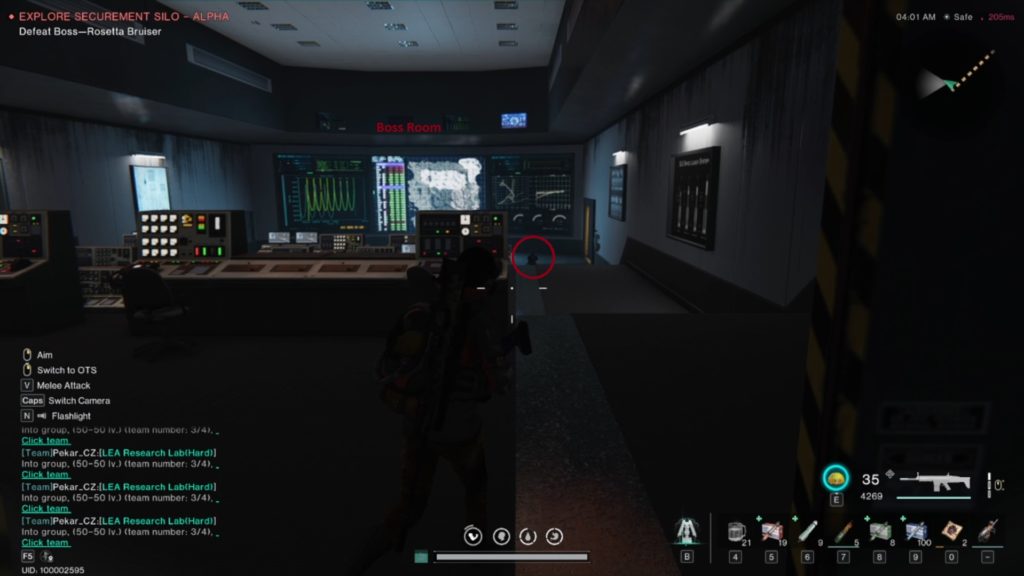
Boss Room
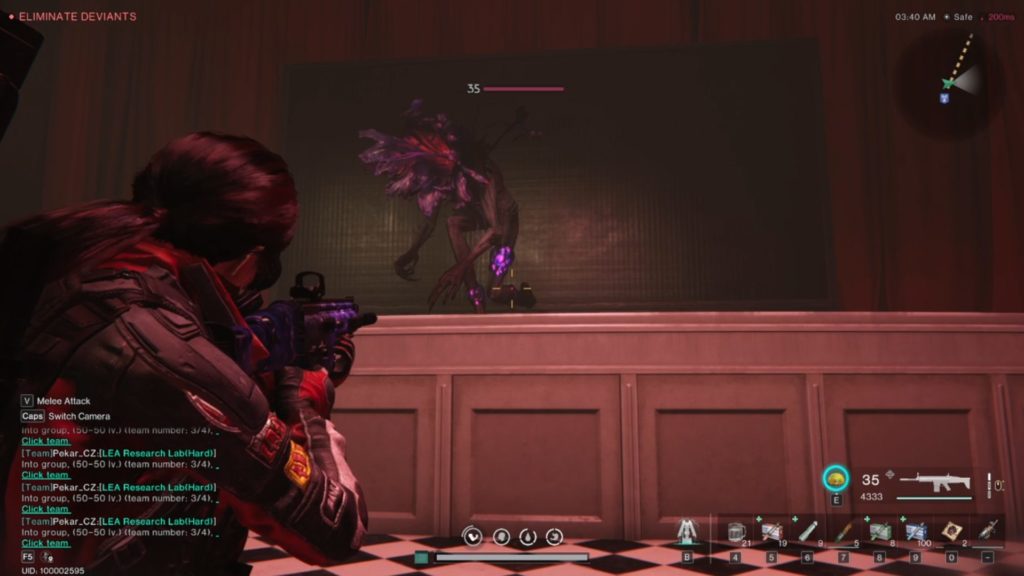
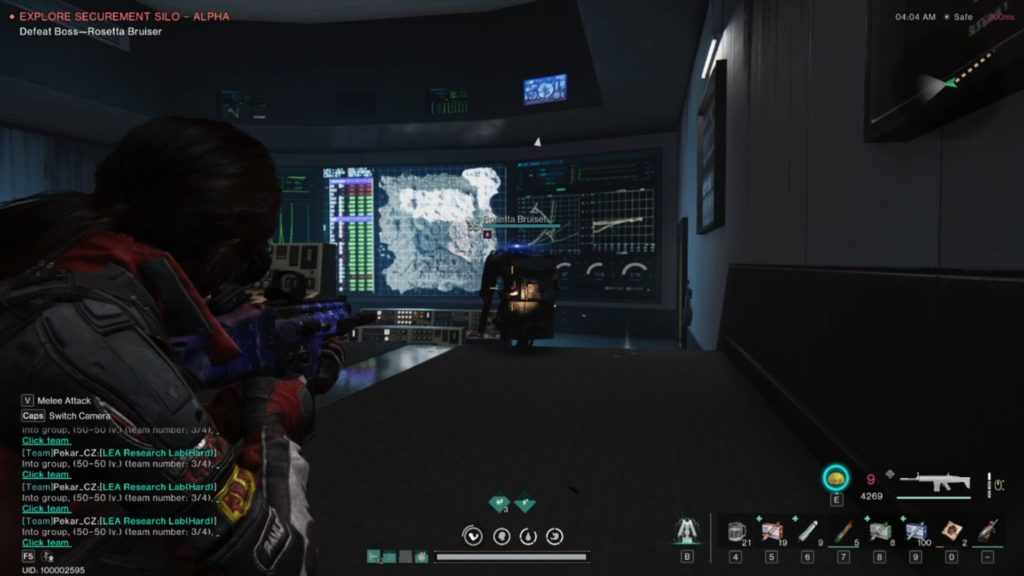
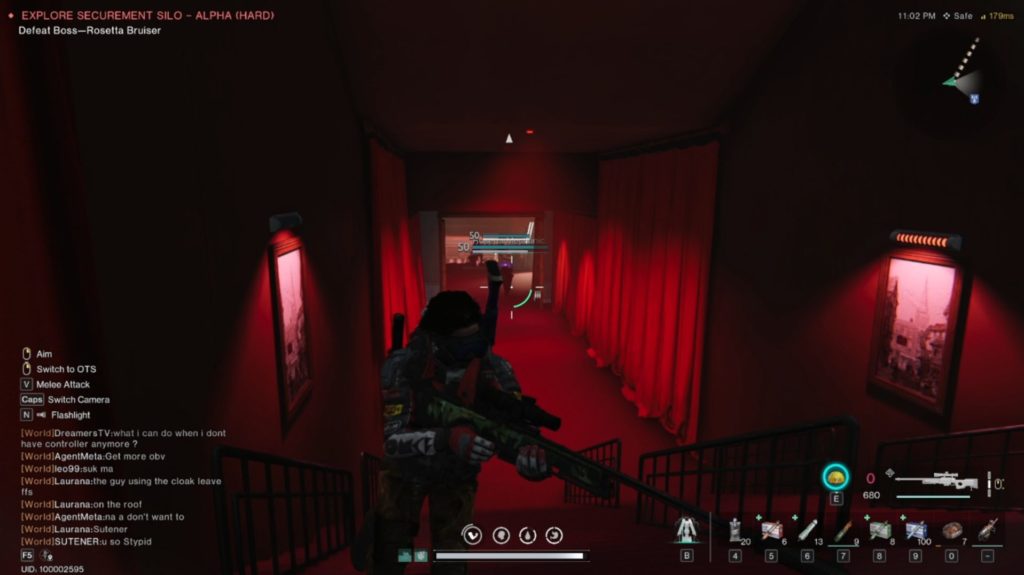
After defeating the boss in the Seepage Zone, make your way back out and up the long stairs. The door to your left is the room where the boss of Securement Silo ALPHA is. Besides the boss there are 3 other mobs in the room with him. Take them out first before taking on the Boss. During the Boss fight random mobs will spawn towards the bottom. Try take them out as fast as possible as they can become troublesome if ignored.
After defeating the boss, go through the door on the right at the bottom of the stairs. Here you will find 2 crates as well as the loot for clearing the silo.
Normal Difficulty Video Walkthrough
Hard Difficulty
For every silo, there are multiple difficulties. Each difficulty adds different elements to it making it more of a challenge. The silo itself does not change, but the amount of mobs and the difficulty of them increases. Hard difficulty increases the mobs level to level 50 making them tankier and do more damage. It also brings in a variety of mobs as well as adding slight differences to the bosses. Another difference is that there are mutations added to the silos with Hard and Master Difficulty. The mutations change from time to time giving you a different experience each time you do it.
Securement Silo ALPHA has some changes to it with the Hard Difficulty setting. You will notice there are more mobs in the rooms as well as some mobs with shields on them. The process stays the same as above. Kill all the enemies and grab all the loot!
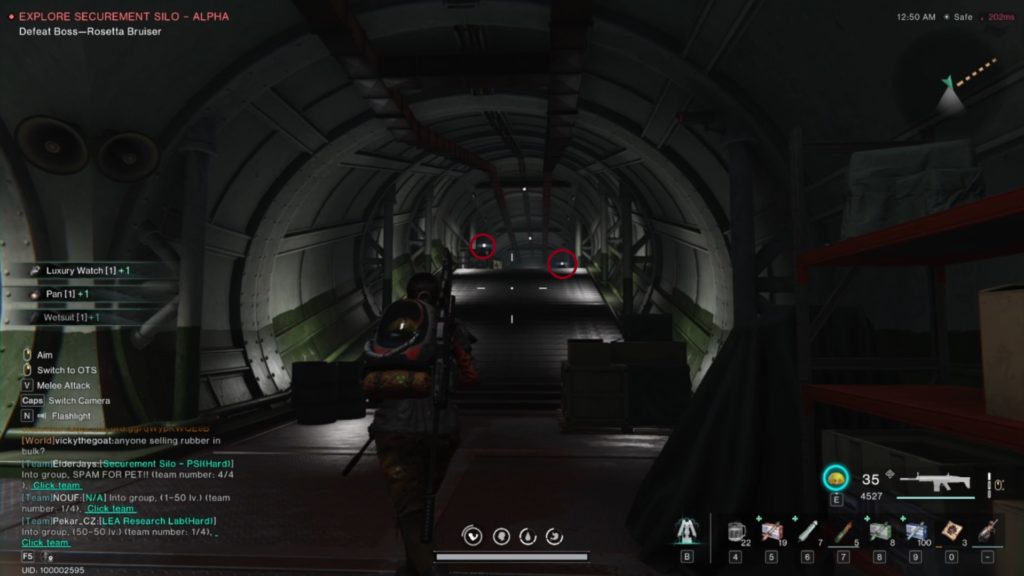
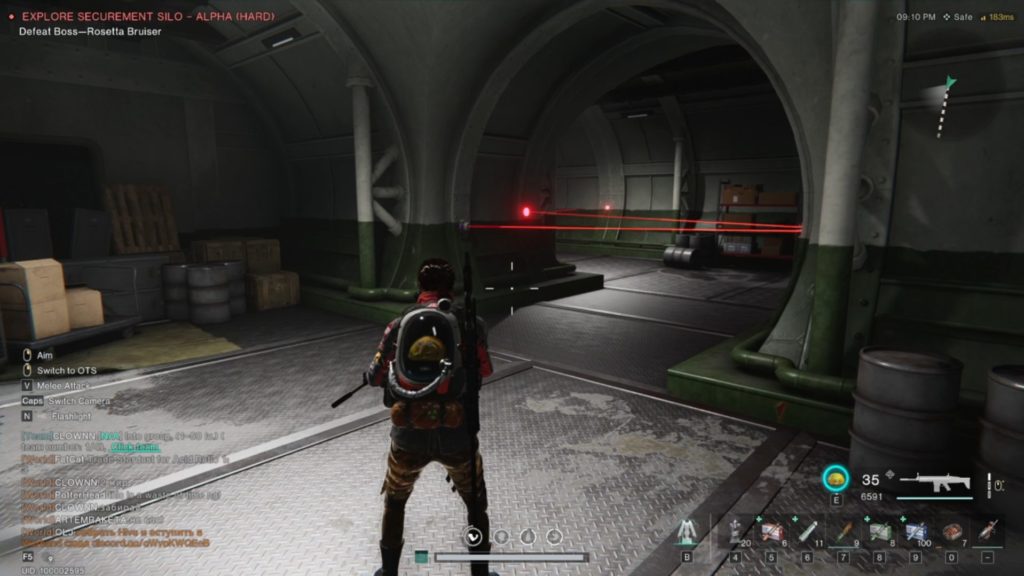
Remember that zig-zag section in the corridors leading to the third room? Well, they now have lasers in the second part of it that you will need to dive under.
The third room has the same mobs in it with the only difference is that the elite has a shield as seen in the image below.
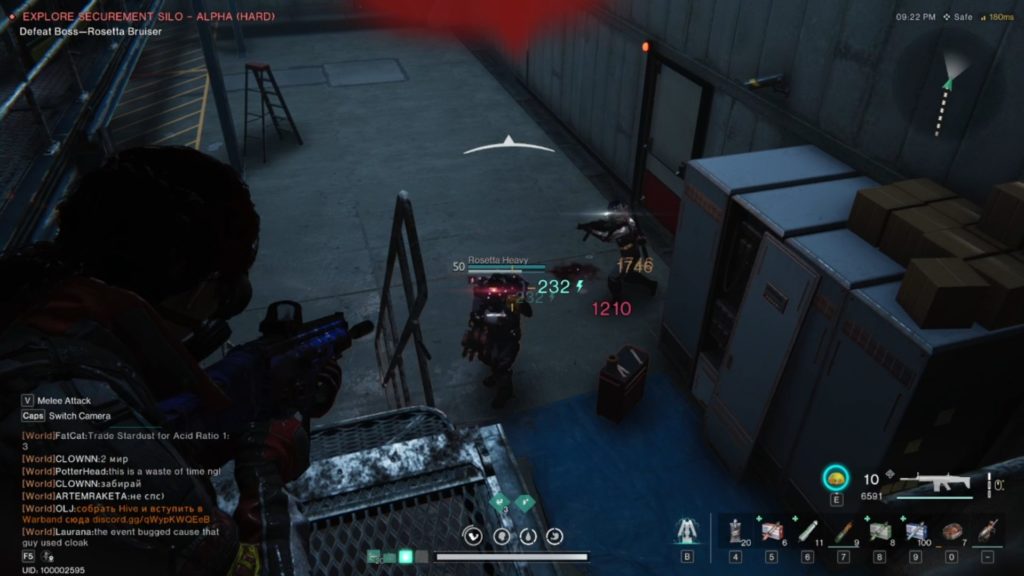
The Seepage Zone has the same process. Take out all the mobs and activate the generators. The mobs are harder as most of them have shields. This goes for the boss as well. You will need to deal enough damage to remove the shield before they will take health damage.
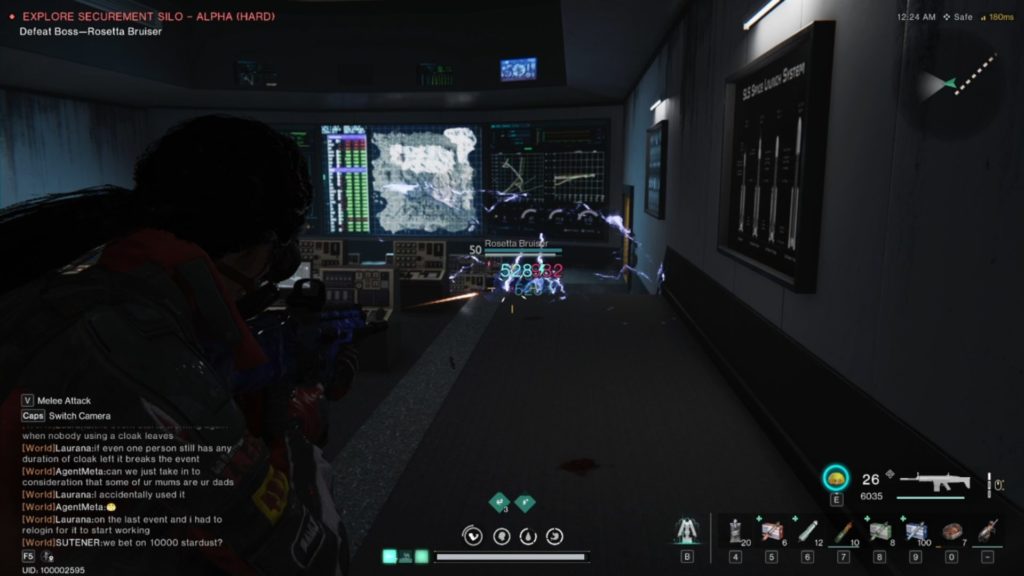
Once you get to the Boss Room, the main difference here is that the boss has a shield and also emits and electric pulse from him. You want to keep moving while fighting him to avoid getting hit by the electric pulse. There will be a lot more mobs spawning through the fight compared to Normal Difficulty, so make sure you are ready for them.
Hard Difficulty gives you Legendary Mods which will make running these Harder silos a lot easier!
Hard Difficulty Video Walkthrough
Master Difficulty
The Master Difficulty was quite a letdown for I think most players in Once Human. I was expecting to get a lot better loot as well as have some different mechanics on the mini boss and boss, but this was not the case. While the silo does get a lot hard with level 60 mobs and increased damage and health, it also meant that I lost A LOT of durability on my weapons and armor. If that wasn’t enough, due to the large health pools of the mobs it took a lot more ammo to bring them down.
All in all the Master Difficulty silos I feel would only be worth farming as a group unless you have found a really powerful build that can take down mobs fast. While you do get a guaranteed epic roll on your legendary mods, the amount of resources you end up using is just not worth it as a solo player.
Master Difficulty Video Walkthrough
Securement Silo ALPHA Conclusion
This silo is the fourth of six silos in Once Human currently and can be more of a challenge that the previous silos. I really enjoy this silo and find it fun to run multiple times. Securement Silo ALPHA is great to target farm legendary mods for Pants and Gloves. It also provides a bunch of mats for weapon and armor upgrades.
If you enjoyed this guide on Securement Silo ALPHA and found it helpful you can check out more guides on our homepage.
You can wishlist Once Human on Steam now!